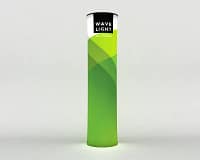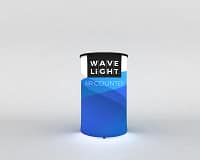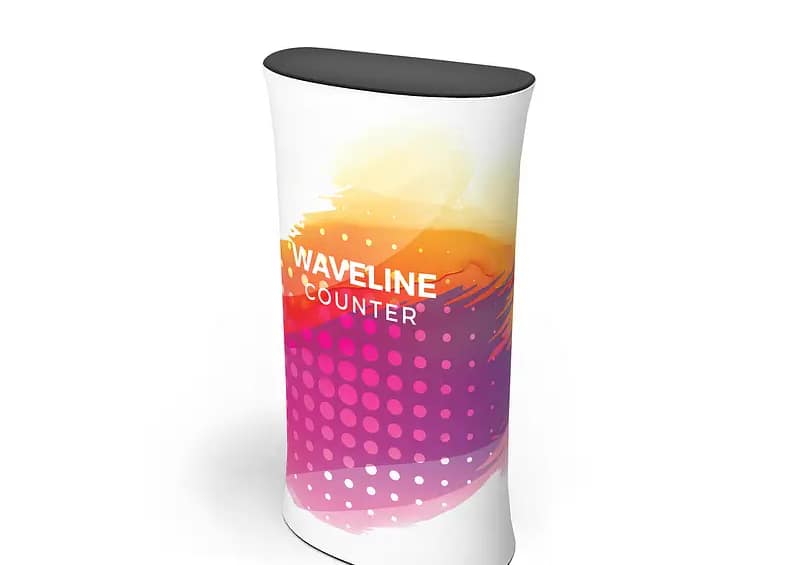
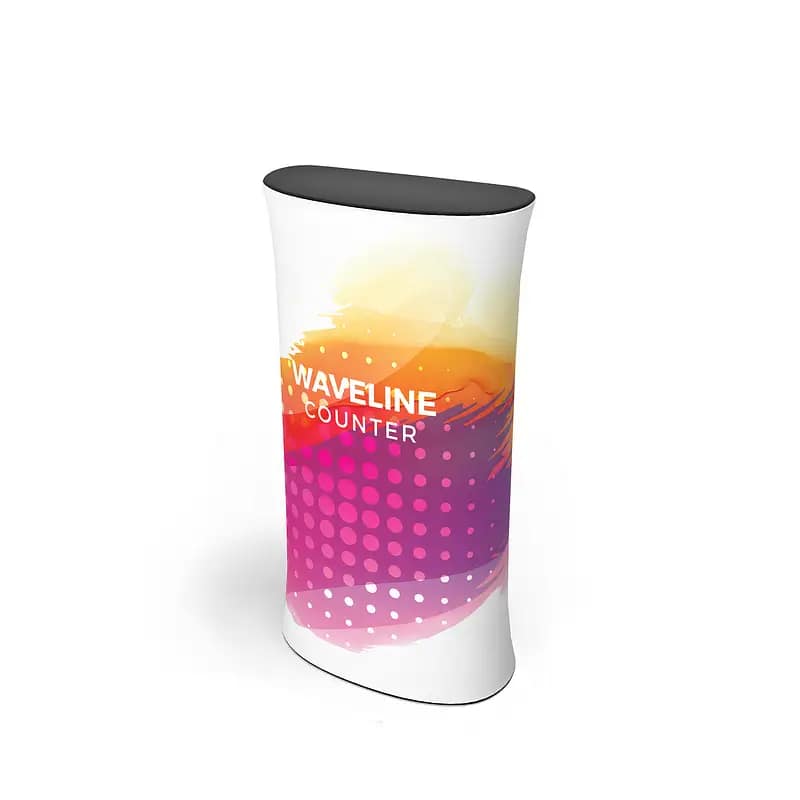
WaveLine® Counters are a practical way to create a professional reception or demo point at events across Australia. These lightweight event counters combine a tubular aluminium frame with a tension fabric graphic and a durable countertop, giving exhibitors a polished look without complicated tools. Understanding how they assemble helps you set up quickly, protect your investment, and ensure your stand looks consistent from one event to the next.
Understanding WaveLine® Counters
At their core, WaveLine® Counters are designed as portable exhibition solutions that travel easily yet look substantial on the show floor. The frame sections generally click together using built-in push-button connectors, while the stretch fabric graphic wraps smoothly around the structure. Because they pack down into compact cases, they suit travelling marketing teams, regional roadshows, and exhibitors who frequently attend conferences or expos.
Preparing for Assembly
Before you start assembling your counter, clear a flat, clean space so you do not mark the graphic or scratch the laminate top. Lay out all components: frame tubes, connectors, shelves, base plates, countertop, and the printed fabric. Keeping the original packaging is wise, as it protects your branded display furniture during transit and storage. Take a moment to check all parts against the supplied components list so you can address any issues before event day.
Step-by-Step Assembly Process
Begin by grouping tubes by their labels or colour codes so you can quickly pair matching sections. Build the base first, then add vertical posts, and finally connect the top frame, checking every push-button joint has clicked securely. Once the frame is complete, slide the fabric graphic over it, ensuring logos align to the front and seams sit at the rear. Gently pull the fabric down and across to create the tidy, taut look typical of tension fabric display counters.
Adding Shelves and Countertop
If your configuration includes shelves, insert the shelf supports inside the frame before fitting the countertop. These shelves are ideal for brochures, samples, and other trade show accessories you prefer to keep out of public view. Next, position the countertop so its locating pegs or magnets sit directly over the frame, then press down evenly until it feels solid and stable. This simple process is similar across many modular trade show counters, keeping learning time to a minimum.
To use your WaveLine® Counters effectively, consider how they support customer flow, staff movement, and display needs within your stand. For example, portable branded reception desks work well at the front of your space, while event-ready sampling stations suit product tastings or tech demos. Because these are reusable promotional counters, careful packing and transport will extend their lifespan and preserve the print quality. With the right planning, custom display counters become reliable trade show counter systems you can deploy for multiple events.
After each event, reverse the assembly steps, taking care not to drag the countertop, over-bend frame connectors, or crush the fabric. Allow the graphic to dry fully if it has been exposed to rain before storing it to avoid mould or odours. By maintaining your lightweight event counters properly, you protect both the hardware and your brand image. To explore how these counters can integrate with your broader stand layout and other portable exhibition solutions, consider speaking with a display specialist for tailored guidance.
For more educational advice on planning effective event stands, including how to match counters with backdrops, lighting, and accessories, speak with an exhibitions expert or your display provider to discuss options and recommendations for your next show.