How to Assemble WaveLight® Air Counters for Quick Setup
Understanding WaveLight® Air Counters
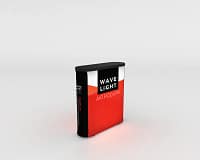
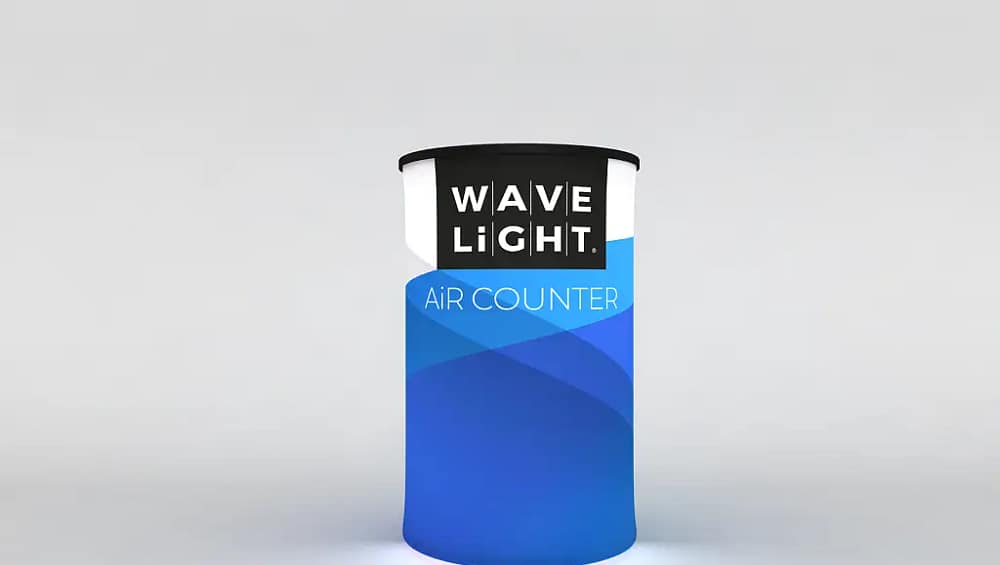
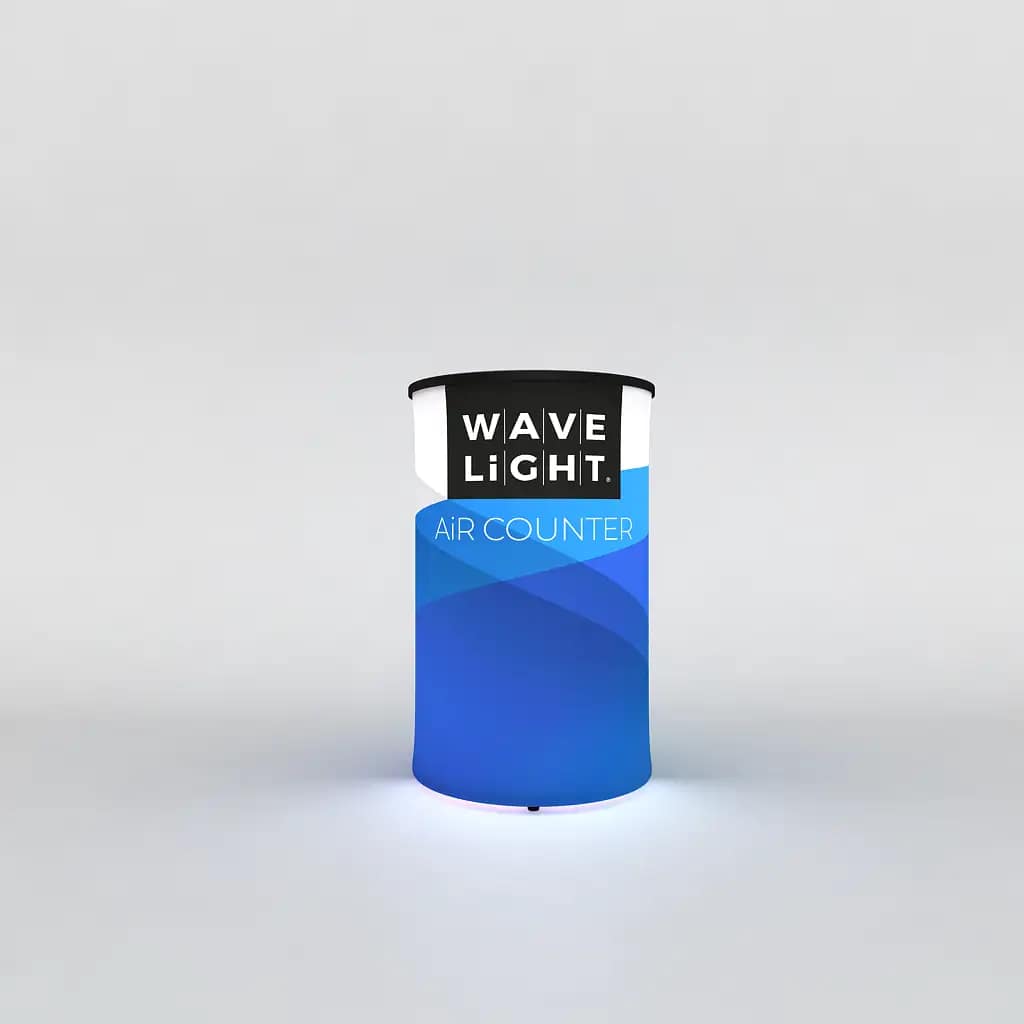
WaveLight® Air Counters are inflatable trade show counters designed for rapid setup at exhibitions, shopping centres, and brand activations across Australia. Each unit combines an inflatable inner core, a tensioned fabric graphic, and a rigid benchtop to create a professional reception or demo point. Their compact packed size and quick inflation make them ideal portable display counters for teams travelling between events. Because they are illuminated from within on some models, correct assembly is essential to maintain a smooth finish, accurate branding, and safe operation throughout the event.
Preparing for a Smooth Assembly
Before inflating the unit, lay out all components on a clean, flat surface free from sharp objects and spills. You should locate the inflatable base, printed fabric, countertop, and pump, checking them against the instruction sheet supplied by your exhibitor or display provider. This simple step helps prevent last-minute surprises on the event floor and protects the internal air chamber from punctures. Event teams who manage multiple lightweight exhibition solutions often pre-check gear at the office or warehouse to ensure everything is operational before freight.
Step-by-Step Assembly Process
Begin assembly by attaching the pump to the valve on the inflatable base and inflating until the structure feels firm yet not over-tight. Overinflation can stress seams and shorten the life of reusable marketing counters, particularly when they are used frequently. Once the base is inflated, close the valve securely before you move on. Next, carefully pull the fabric sleeve over the base, aligning the artwork with the front and key viewing areas. Smooth the fabric as you zip or fasten it, maintaining tension for a neat, fabric-wrapped promo counter finish.
Positioning, Safety, and Common Mistakes
After the graphic is in place, align the countertop with the top frame and press gently until it locks or seats firmly. Confirm the counter stands upright, does not rock, and sits on a level surface before adding brochures, tablets, or product samples. These units function best as branded portable reception desks rather than heavy equipment stands, so avoid loading them with large monitors or stock. A frequent mistake is rushing the graphic installation, which can leave creases or misaligned logos that undermine otherwise premium customizable trade show displays.
When packing down WaveLight® Air Counters, remove all materials from the top, lift off the countertop, and unzip the fabric graphic. Fold the print with the artwork facing inward to reduce scuffing during transport between venues. Open the valve fully to let air escape, gently pressing down on the base to speed deflation without forcing it. Once flat, fold the core loosely and return all parts to their carry bag or case, ready to act as compact shipping display units for your next campaign. If the valve leaks or graphics do not fit, seek guidance from your display specialist before the next event.
For Australian marketers planning custom-branded activation stations or broader modular event counter systems, understanding this simple assembly process helps protect your investment and streamline on-site setup. If you are unsure which inflatable solution best suits your stand, speak with an exhibition specialist who can explain options in tool-free exhibition furniture and other lightweight exhibition solutions that complement your WaveLight® Air Counters. Taking time to learn proper setup, care, and limitations ensures your counters deliver reliable, professional results at every show.