How to Assemble Brandcusi® Counters for Your Next Event
Brandcusi® Counters are designed to give Australian exhibitors a professional counter surface that is fast to set up, easy to transport, and visually consistent with their branding. Understanding the basic components and assembly steps helps you avoid stress during tight bump-in times at trade shows, conferences, and shopping centre activations. With the right preparation, these counters function as reliable portable exhibition solutions that support product demonstrations, lead capture, and general customer engagement.
Understanding Brandcusi Counters
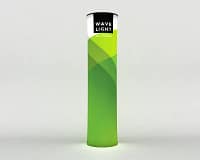
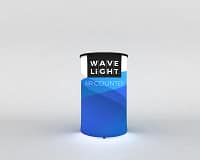
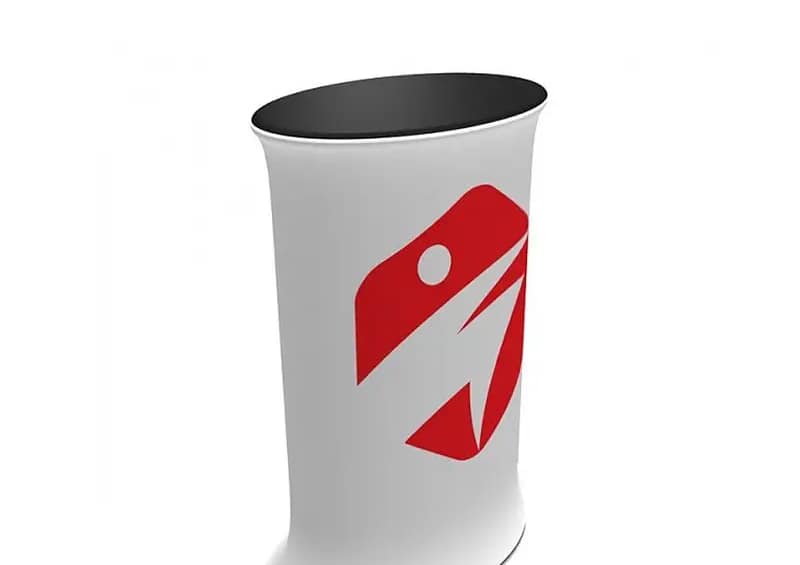
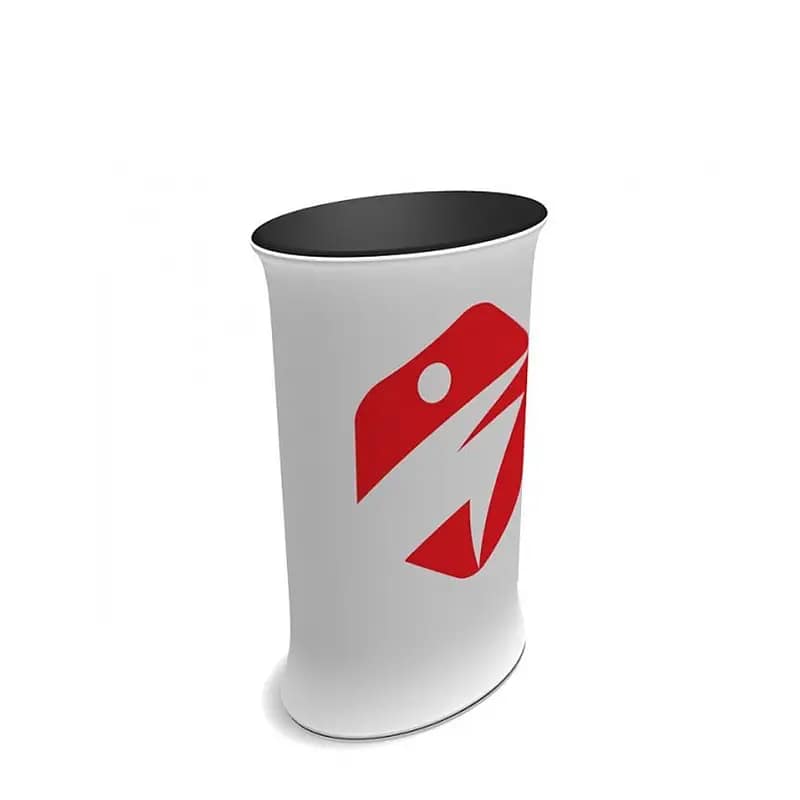
Most Brandcusi counters feature a lightweight internal frame, a stabilising base plate, a graphic wrap or fabric sleeve, and a rigid counter top. This configuration keeps the unit compact while still providing enough stability for event-ready display furniture in busy environments. Because they are designed as compact trade show counters, they travel easily in cars or small vans and can be handled by one person. Many teams use them as part of broader custom display counters and backdrops for a cohesive visual impact.
Preparing Your Counter for Assembly
Before you assemble, clear a clean, level area so parts are easy to see and less likely to be damaged. Unpack the carry bag and confirm you have the frame sections, connectors, base plate, counter top, and printed panels. Check that the graphics match your current campaign, particularly if you use reusable exhibition counters for multiple clients or product ranges. Inspect the hardware for bent connectors, worn Velcro, or damaged zips from previous events, as addressing these issues early avoids delays at the venue.
Step-by-Step Assembly Process
Begin by laying the frame pieces out in order, following the manufacturer’s instruction sheet included with your Brandcusi® Counters. Connect each section until it locks or clicks firmly, then attach the base plate so the structure stands upright and stable. Next, fit the fabric or graphic panel by sliding or wrapping it over the frame, smoothing any creases and fully closing zips or Velcro joins. Once satisfied with alignment, position the counter top so that all fixing points are engaged and the surface is level, ready for brochures, devices, or samples.
For safety, always respect the stated weight capacity and avoid placing heavy objects on unsupported edges. Laptops, tablets, and product samples should be kept close to the centre of the top to reduce strain on connectors. If the venue floor is uneven, use any supplied adjusters or small shims under the base plate to stop rocking. Organise charging leads and data cables neatly around your trade show furniture options to remove trip hazards and keep the front of the counter clear for visitors.
Pack-down is largely the reverse of assembly, but attention to detail extends the life of your portable branded counters. Remove stock and collateral first, then lift off the counter top and store it in a protective sleeve if supplied. Carefully remove the graphic, rolling it print-side out to minimise creasing and edge damage, especially for retail activation display units used regularly. Collapse the frame, secure loose connectors in smaller bags, and place everything back into the carry case in a consistent order so the next set-up is faster.
When you plan a larger stand, it can be useful to combine lightweight promotional counters with modular trade show counters, banners, and backdrops for a more substantial presence. If you are unsure about graphic sizing, replacement options, or how to integrate branded reception desk solutions into your floor plan, speaking with an Australian display specialist is advisable. They can also recommend portable exhibition solutions that complement your existing event-ready display furniture. For tailored guidance on planning and using Brandcusi counters effectively at upcoming events, consider contacting a display expert to review your requirements and help you choose the most suitable portable exhibition solutions for your schedule and budget.