How to Assemble WaveLight® Casonara Counters: A Step-by-Step Guide
Assembling WaveLight® Casonara Counters correctly is essential for creating safe, professional illuminated display counters at Australian exhibitions and brand activations. These units combine a lightweight aluminium frame, LED lighting and a printed fabric skin to deliver a bright, modern focal point. When set up properly, they perform reliably as reception points, demo stations or registration desks throughout busy event days. This guide explains the full process in clear stages so your team can assemble and pack down with confidence.
Understanding the Counter System
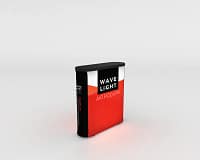
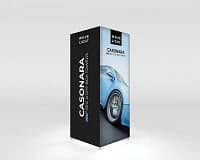
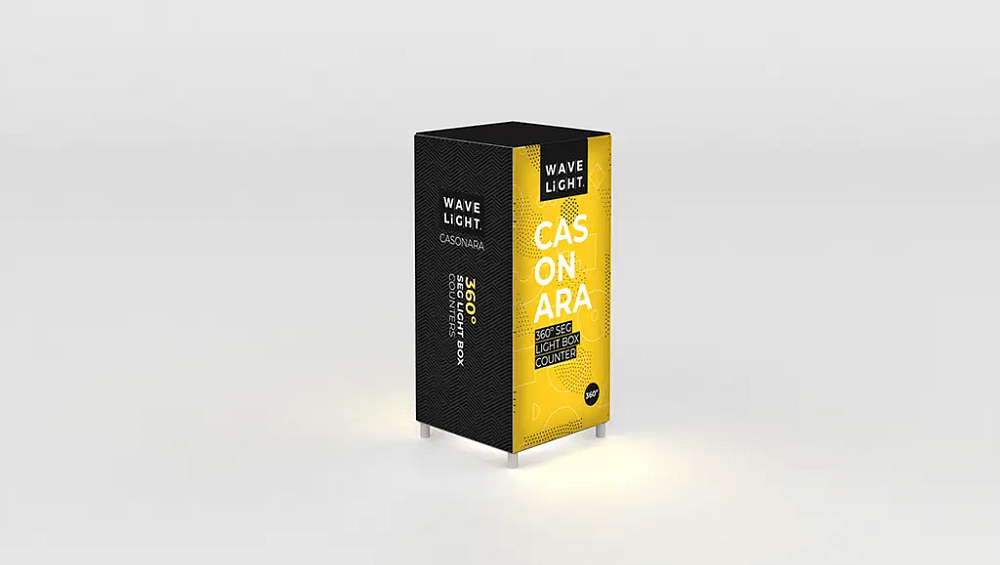
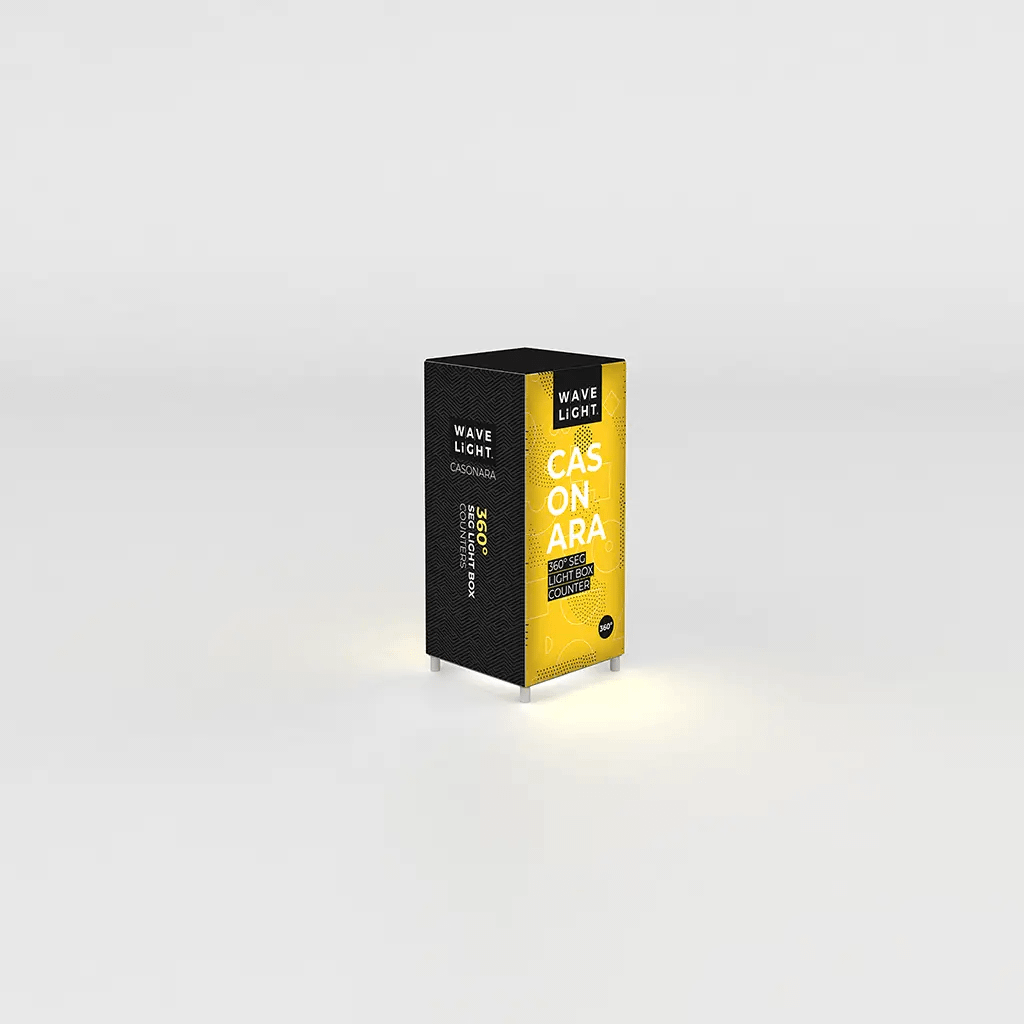
WaveLight® Casonara Counters are designed as SEG fabric lightbox counters, meaning the fabric graphic locks into the frame using a silicone edge gasket. The internal LEDs shine evenly through the fabric, creating backlit promotional counters that highlight your brand. Because the frames are engineered as portable trade show displays, they are lightweight yet sturdy when correctly locked together. Many Australian exhibitors pair them with custom exhibition stands to create cohesive, illuminated booths.
Preparing Tools, Parts and Workspace
Begin by clearing a flat, clean area where you can lay out every frame section, base, countertop, lights and graphic. Most systems are designed as tool-free exhibition counters, although small Allen keys or clips may still be supplied. Check all parts against the manufacturer’s list before you start, paying particular attention to numbered frame sections. For Australian venues, confirm power board compliance and tagging requirements ahead of time to avoid delays on site.
Step-by-Step Frame and Light Assembly
Lay out the aluminium sections in numerical or alphabetical order, then connect each piece until every push-fit or button-lock joint clicks firmly into place. Once the main frame is square, attach the base plate and any internal shelves or supports, then perform a gentle stability check. Next, fit the LED arrays or strips inside the frame, routing cables neatly towards the power pack location to suit LED backlit trade show counters. Avoid tight bends or pinched cables to extend the life of reusable illuminated booth furniture.
With the frame upright and lighting installed, carefully apply the fabric graphic, taking care not to drag it on rough ground. Insert the silicone edge gradually into the channel, working evenly around the frame to minimise wrinkles and ensure even illumination. Place the countertop on top, aligning locating pins or brackets until it locks securely, transforming the unit into portable branded event furniture ready for visitors. Test the power and brightness before the event opens, and allow LEDs to cool fully before pack-down.
Many teams ask whether one person can assemble WaveLight® Casonara Counters; most standard models can be built solo, though a second person makes handling large graphics easier. These premium portable display counters are designed for repeated use, so store frames in their original foam or padded bags and fold graphics clean-side-in to reduce marks. As your event program grows, consider combining these units with modular illuminated reception desks to create flexible, consistent branding across different floor plans. To explore more ways to integrate backlit counters into your event strategy, speak with a display specialist and review your upcoming show requirements in detail.