How to Assemble WaveLight® Casonara Lightboxes: A Step-by-Step Guide
WaveLight Casonara lightboxes are popular illuminated display solutions for exhibitions, retail fit-outs, and corporate events across Australia. These SEG fabric lightbox displays use a lightweight aluminium frame, tensioned fabric graphics, and LED modules to create bright, professional visuals. Understanding how each component fits together will help you assemble your unit safely and efficiently. This guide walks you through preparation, frame construction, lighting installation, and fabric fitting so you can set up with confidence and maintain consistent presentation quality.
Understanding WaveLight Casonara Lightboxes
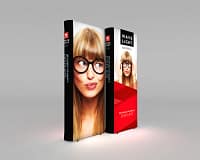
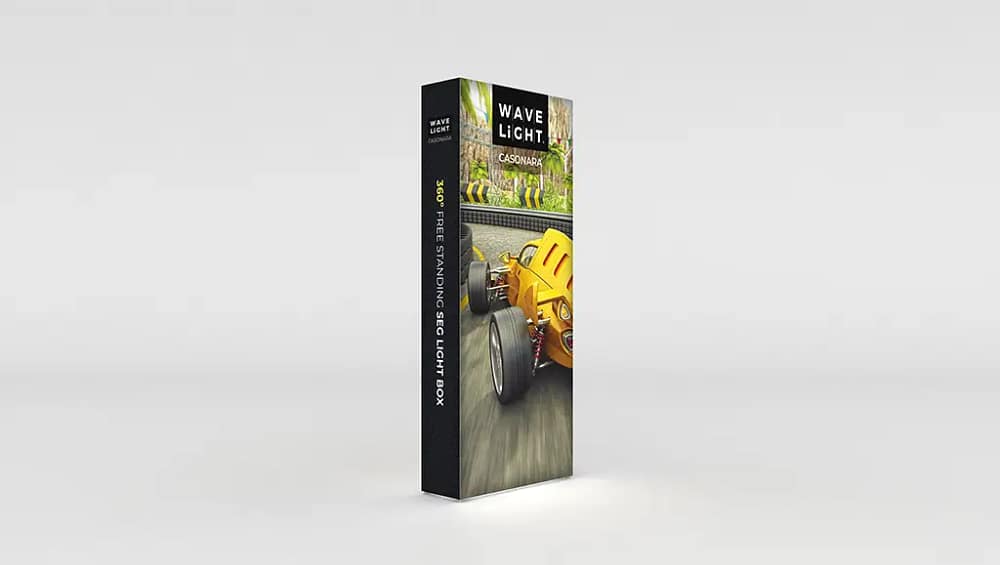
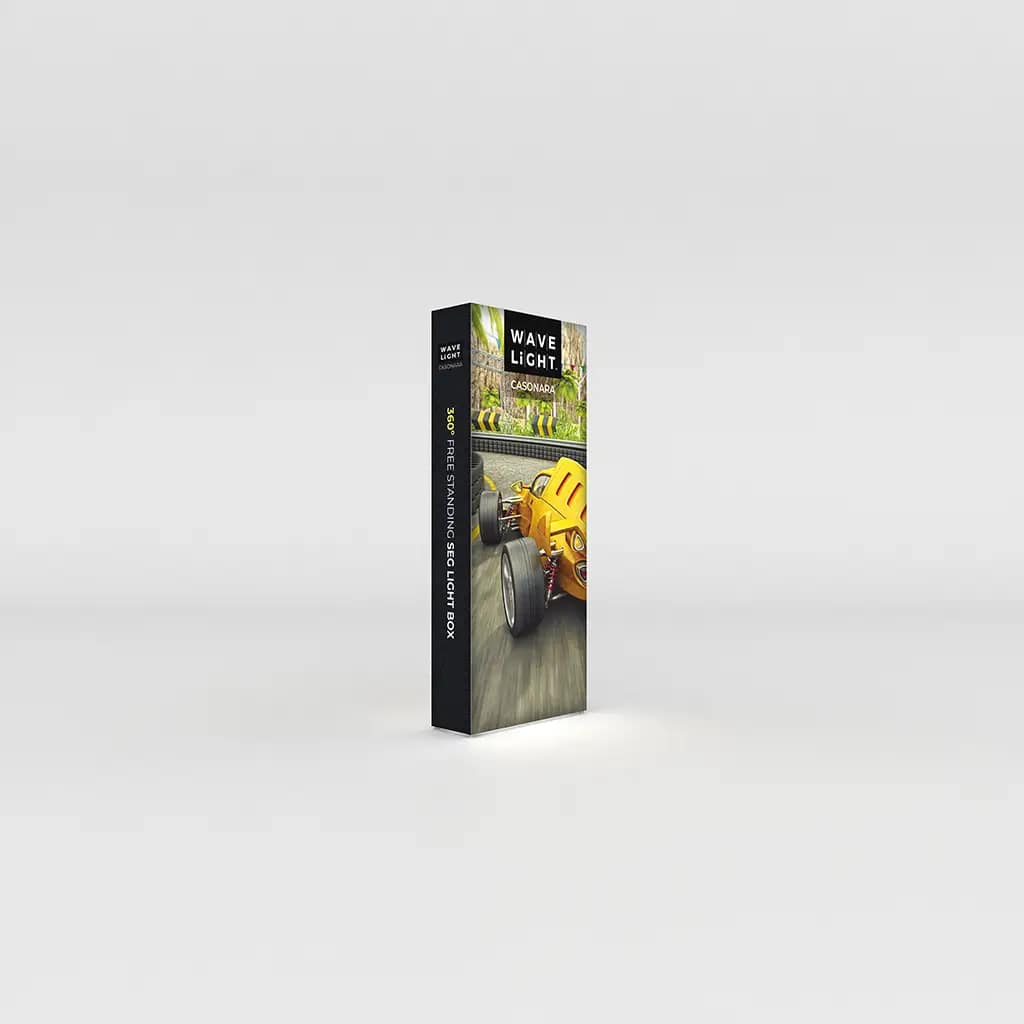
At their core, WaveLight Casonara systems are modular lightbox systems designed for regular transport and re-use. The frame breaks down into labelled sections that reassemble into either single-sided or double-sided configurations. Integrated LEDs provide energy-efficient display lighting, producing an even glow behind your printed fabric. Because the graphics stretch smoothly over the frame, they create a clean, frameless look ideal for backlit trade show displays and retail campaigns. Correct handling protects both the aluminium hardware and the printed fabric surface.
Preparing for Assembly
Begin by choosing a clean, flat surface large enough to lay out all frame pieces and graphics. This reduces the risk of marking or creasing the fabric and makes it easier to identify each component. Unpack the frame profiles, connectors, LED strips or arrays, power supply, feet, and front and rear graphics, checking them against the packing list. Inspect plugs, cables, and fixing points for visible damage before use. This preparation step helps prevent delays, especially when setting up portable LED exhibition stands on tight event schedules.
Step-by-Step Frame and Lighting Assembly
Lay the labelled frame sections on the floor in their final shape, matching corners and sides according to the supplied diagram. Join vertical and horizontal profiles using the push-fit or screw connectors, ensuring each joint is fully engaged and square. Once the perimeter is assembled, attach the stabilising feet or base plates so the structure can stand freely; this is important for freestanding retail lightboxes in busy public areas. With the frame upright and stable, install the LED modules into the internal channels or brackets, routing cables neatly and avoiding sharp bends.
Connect the LED arrays to the power supply, following any polarity or connector markings provided by the manufacturer. Test the lighting before fitting fabric graphics so you can identify dark spots, loose connections, or flickering sections while everything remains accessible. Many users find it helpful to dim ambient lighting briefly to check for uniform brightness across the face. Because these systems are often used as premium illuminated signage, verifying even illumination protects your brand presentation. Only proceed once the lighting performs consistently across the entire display area.
Fitting and Caring for Fabric Graphics
Place the printed graphic face down on a clean surface, then lift it to the frame, starting with the centre of one side. Insert the silicone edge into the frame groove, working gradually towards the corners without stretching the fabric excessively. Repeat for all sides, then fit the rear graphic or block-out panel to maximise brightness and reduce light spill. When removing graphics, always pull from the silicone edge rather than the printed area to prolong the life of your WaveLight® Casonara Lightbox and support reusable illuminated branding.
After each event, disassemble the unit by reversing the setup steps, taking care not to force connectors or overtighten screws. Allow the fabric to cool before folding it loosely, and store it in a protective bag to minimise creasing between uses. Careful handling helps maintain sharp print quality for custom lightbox designs used as portable advertising displays at multiple venues. For more technical guidance on assembling SEG systems and other backlit hardware, speak with an expert or explore how these solutions integrate into broader display strategies for Australian businesses.
To deepen your understanding of how these lightboxes can support your marketing or event objectives, consider discussing layout options, sizes, and accessories with a display specialist. They can advise on combining your Casonara units with other portable systems to create cohesive illuminated display solutions tailored to your space, budget, and brand requirements.