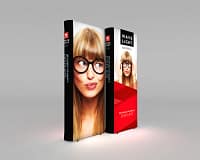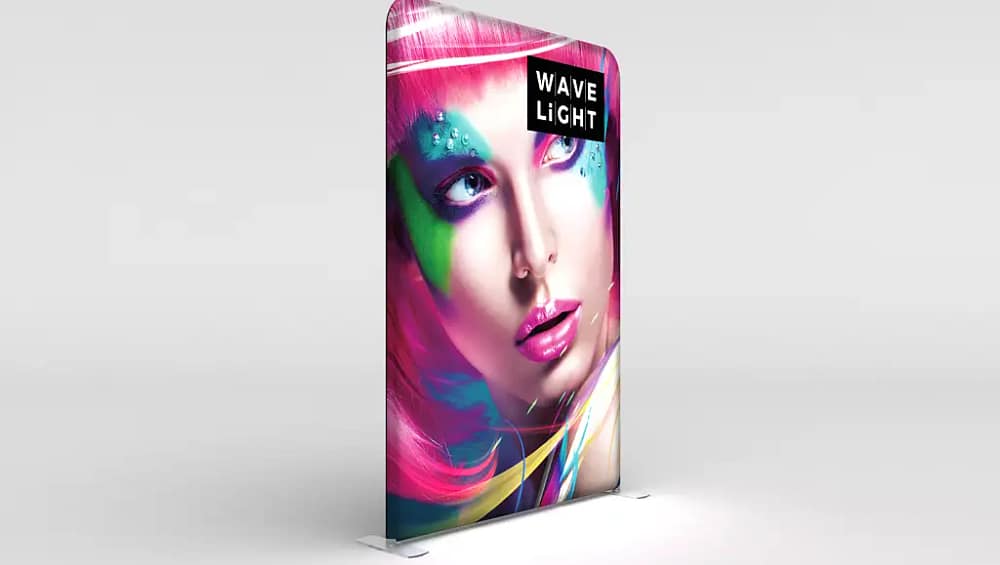
How to Assemble WaveLight® LED Lightboxes for Trade Shows
Understanding LED Lightboxes for Exhibitions
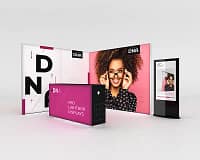
LED lightboxes are illuminated display frames that use low-voltage LED strips to backlight printed fabric graphics for exhibitions and events. In Australian trade show halls, they help brands cut through strong ambient lighting with bright, even illumination. Most systems use aluminium frames with silicone edge graphics, where the fabric has a stitched silicone strip that slots into a perimeter channel. This creates a neat, frameless appearance that suits both backlit trade show displays and high-impact retail lightboxes across national campaigns.
Why WaveLight® LED Lightboxes Matter for Trade Shows
The primary advantage of the WaveLight® LED Lightbox is its lightweight aluminium construction combined with integrated LEDs around the frame. Unlike older illuminated display solutions that require separate light bars, this design provides consistent edge-to-edge brightness. Exhibitors gain a professional finish without relying heavily on contractors, as many models are tool-free and suitable for in-house setup. When planned correctly, these custom illuminated trade show stands can be reconfigured across different events, increasing return on investment.
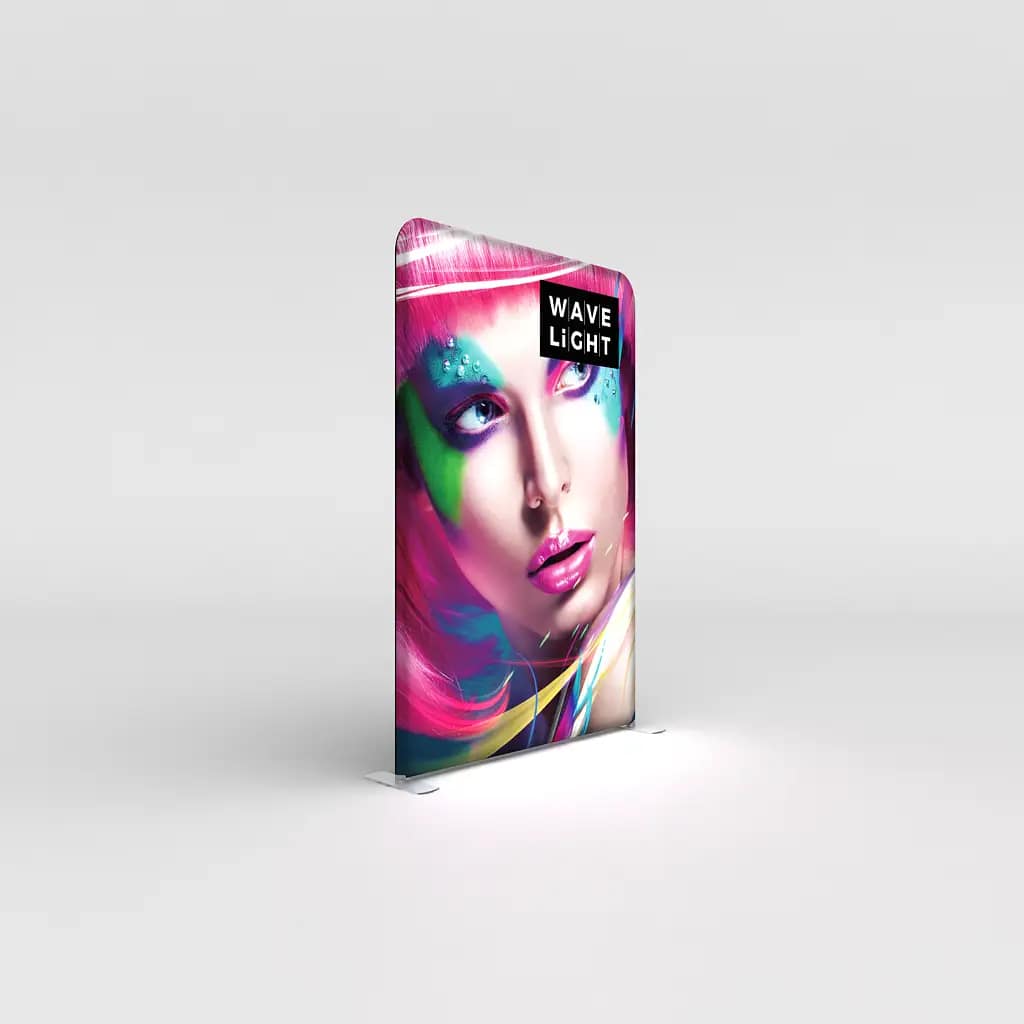
Step-by-Step Guide: How to Assemble WaveLight® LED Lightboxes
Begin by unpacking all components and laying them out clearly: frame sections, corner connectors, LED strips or panels, power supply, feet or stabilisers, and the fabric graphic. Connect matching frame pieces, usually labelled, and ensure push buttons or locking screws click fully into place. Once the frame is secure, attach or check the integrated LEDs, confirming that cabling is tidy and not twisted. Before powering on, inspect all joins so your modular LED lightbox systems stand square and stable on the show floor.
Fitting SEG Fabric Graphics and Checking Illumination
To install seg fabric lightbox graphics, start by inserting the silicone edge into the centre of one frame side, then fit the opposite side, followed by the remaining edges and corners. This technique distributes tension and helps prevent creasing in the printed fabric. Gently pull and reseat sections if ripples appear, working gradually rather than forcing the material. When satisfied, connect the transformer, switch on the unit, and step back to confirm uniform brightness, ensuring portable exhibition lightboxes look flawless from multiple angles.
Practical trade show planning in Australia should allow time for a full test build before doors open, particularly for first-time users. Many venues require tagged and tested electrical equipment, so confirm your WaveLight® LED Lightbox complies with local safety standards and energy-efficient illuminated signage requirements. Consider how the system packs down into cases for portable advertising signs and multi-city tours, protecting both the aluminium and graphics. If you anticipate frequent brand updates, ask your supplier about reusable LED display frames and custom lightbox designs compatible with future campaigns.
Before buying, many exhibitors ask about brightness levels, graphic replacement, and long-term reliability. Clarify LED and power supply warranties, as these are critical for multi-day events, and confirm whether frames can be expanded or linked for larger custom configurations. For more guidance on choosing backlit solutions that suit Australian venues, speak with an exhibition display specialist who understands backlit trade show displays and local regulations. To explore options and get tailored advice for your stand, contact an expert today and plan your next trade show with confidence.