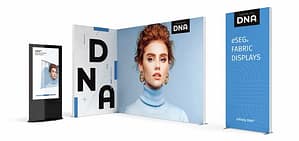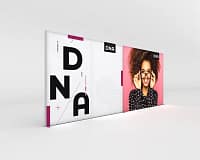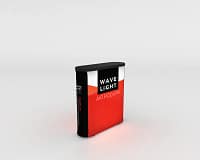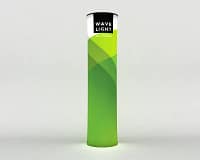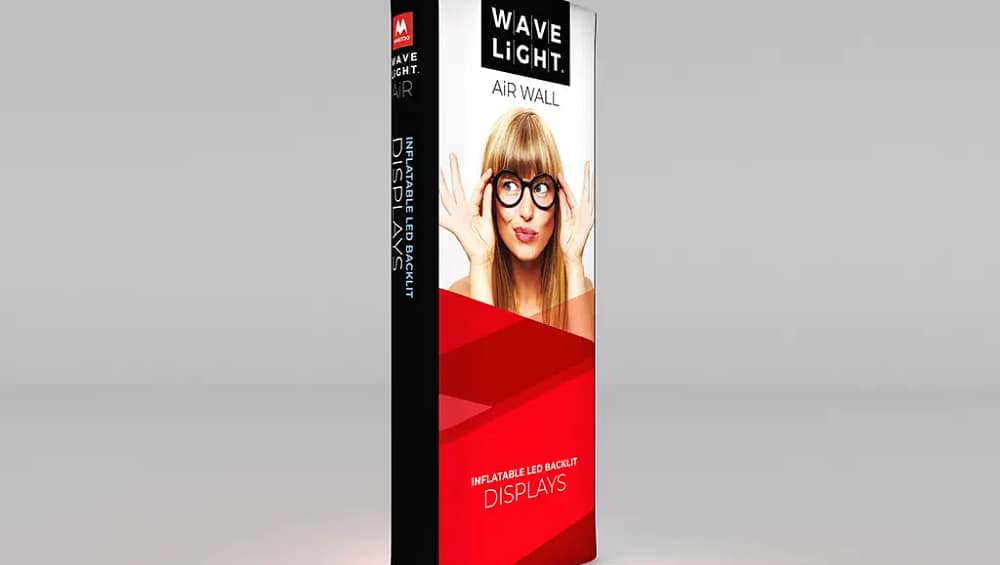
Inflatable lightbox displays are increasingly popular for Australian events because they deliver high visual impact without complex hardware. By combining a sealed air frame, internal LED lighting and a tension fabric graphic, they create bright, portable illuminated backdrops suited to exhibitions, conferences and retail activations. Understanding how to assemble WaveLight® Air Wall Lightboxes for Events will help marketers confidently plan their stand design, minimise bump-in time and protect their investment across multiple shows.
Understanding inflatable lightbox displays
Inflatable lightbox displays rely on an airtight internal structure that becomes rigid once inflated, supporting evenly distributed LED lighting. When paired with a high-resolution fabric graphic, they function similarly to fabric lightbox signage while remaining significantly lighter than traditional metal frames. Because they pack down into compact cases, they are easy to transport between venues and states. For event teams with limited crew, this combination of portability and visual impact makes them a practical alternative to custom wall-mounted displays.
Why the WaveLight® Air Wall Lightbox stands out
The WaveLight® Air Wall Lightbox differs from many lightweight event lightboxes by integrating LEDs directly into the inflatable frame, reducing loose components. This design supports fast, repeatable setups at trade fairs, shopping centres and brand activations. For exhibitors who regularly travel interstate, the reduced freight volume and weight can translate into noticeable cost savings. Its illuminated graphic surface also pairs effectively with SEG fabric display walls or other modular glowing wall systems to create a cohesive stand layout.
Step-by-step assembly process
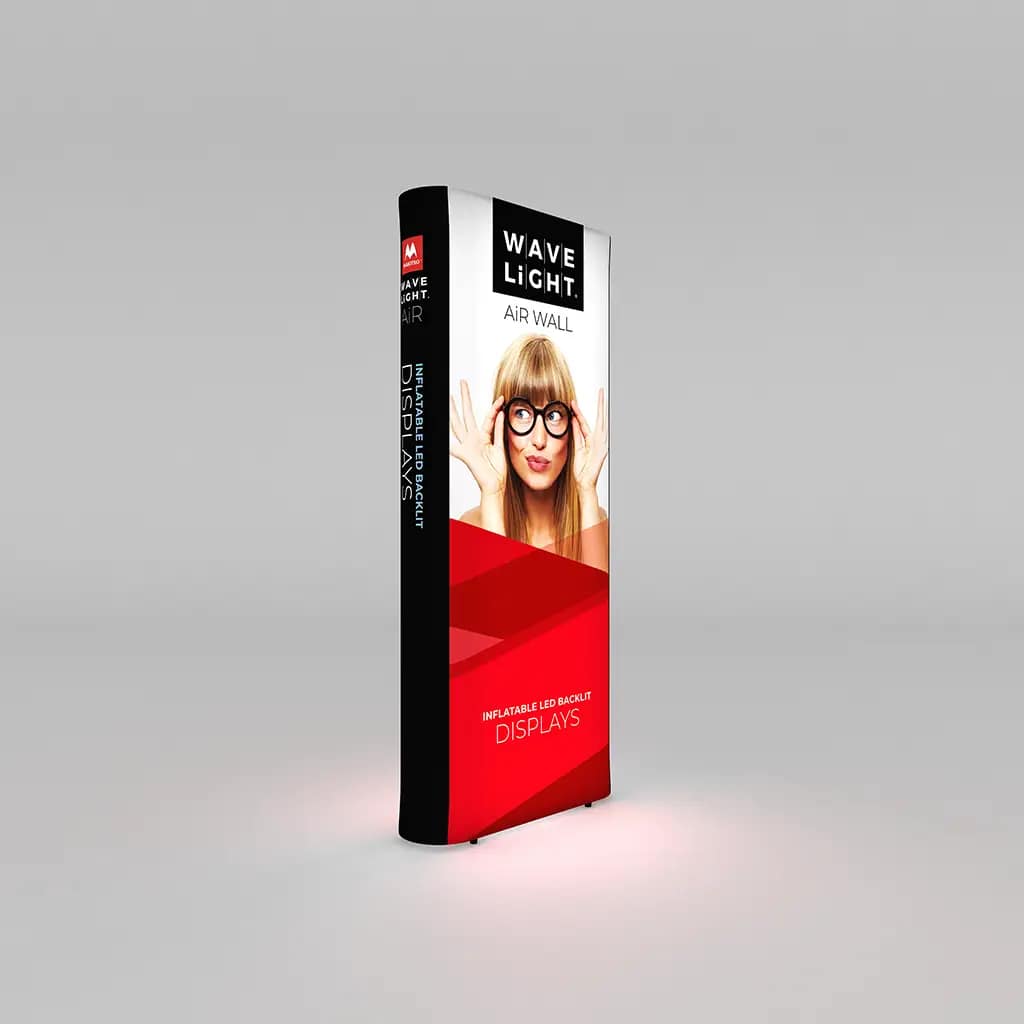
To assemble your unit, begin by unpacking the kit and confirming that the inflatable wall, integrated LEDs, power leads, fabric graphic and pump are all present. Lay the deflated wall on a clean surface, attach the pump to the valve and inflate until the structure feels firm but not over-stressed. Stand the wall upright, then slide the graphic over the frame like a pillowcase, checking that seams align with the edges for a smooth finish. Finally, connect the power supply, switch on the LEDs and inspect for consistent illumination before guests arrive.
Event setup tips and practical considerations
Most organisers find that a single person can assemble backlit inflatable displays in about 10–15 minutes once familiar with the process, so it is wise to allow extra time at your first installation. Properly sealed walls generally stay inflated for multi-day events, though a brief air top-up may occasionally be required. To extend the lifespan of your illuminated display solutions, avoid dragging the base across rough floors, fully deflate before folding, and store graphics dry and away from direct sunlight. These practices support long-term use and maintain professional presentation standards.
When deciding whether to invest in trade show lightbox walls versus tool-free exhibition lightboxes or reusable branded light panels, consider venue access, crew size and how frequently you rebrand campaigns. For touring roadshows, the compact pack-down and low weight of WaveLight® Air Wall Lightboxes for Events can be particularly advantageous. Pairing them with other portable systems allows you to scale your footprint without increasing setup complexity. If you need guidance on layout options or integrating them with existing displays, speak with an event signage specialist to map out the most effective configuration.
To make an informed decision about event lighting and signage, review how WaveLight® Air Wall Lightboxes for Events fit into your broader marketing objectives, budgeting and logistics. Clarify whether your priority is maximum brightness, the fastest bump-in, or the most flexible configuration across different venues. Once you understand the assembly process and maintenance requirements, you will be better placed to brief your team, compare display types and plan future upgrades. If you would like expert input on sizing, placement or combining these systems with other event signage, contact a specialist to discuss your next stand in detail.