Understanding Infinity DNA™ Pro Lightbox Assembly for Trade Shows
Assembling an Infinity DNA™ Pro Lightbox for a trade show in Australia is straightforward once you understand the main components and the order of setup. This type of system is designed for rapid, tool free display assembly, allowing most marketing teams to complete a standard build in under an hour. By learning the process in advance, you can reduce stress on bump-in day, protect your investment, and present a professional, evenly lit display that supports your event objectives.
Key Components of Modern LED Lightbox Displays
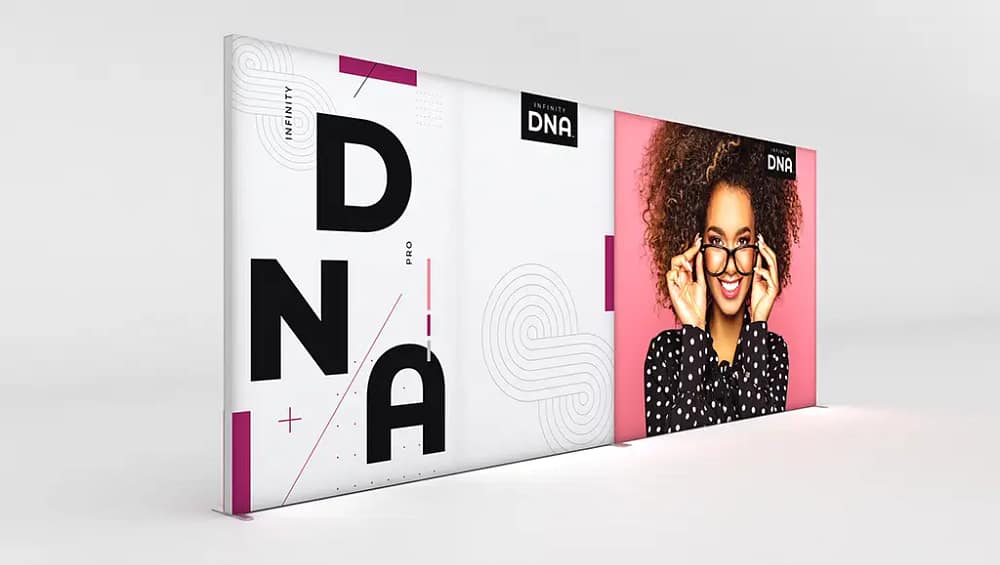
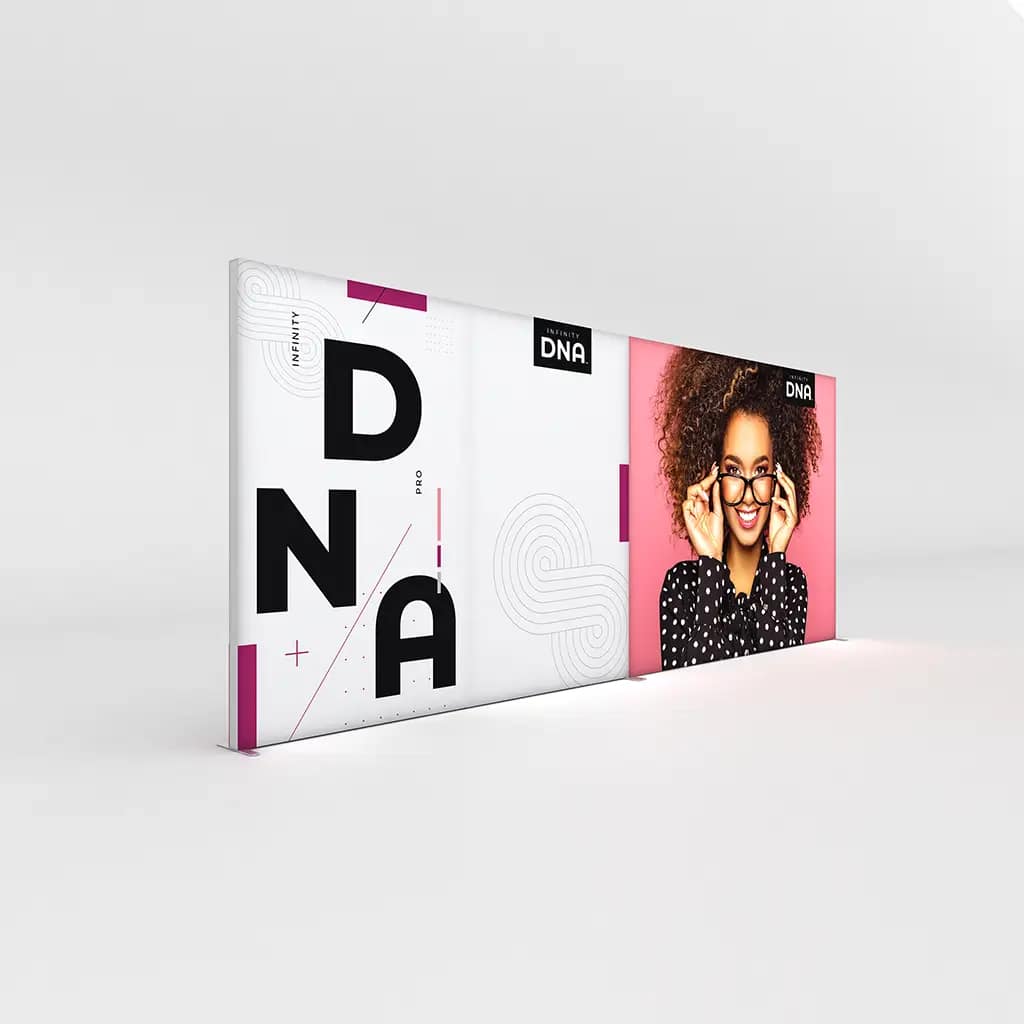
Each kit generally includes aluminium frame sections, stabilising feet, pre-mounted LED light arrays, power supplies, cabling, and SEG fabric lightbox graphics. Sections are usually labelled or colour-coded so they connect only in the correct sequence. The lightweight frame locks together using integrated connectors, removing the need for tools or loose hardware. Once the frame is built, LED strips or panels sit inside the structure to create consistent illumination across your branding.
Step-by-Step Assembly Process
Begin by laying out all parts on the floor and confirming quantities against the packing list. Assemble the base and vertical uprights first, then connect the top frame so the structure forms a rigid rectangle. Next, clip or slide the LED modules into their designated channels and daisy-chain the low-voltage cables, checking that connections are firmly seated. Only after this should you connect the power supply, leaving it switched off until graphics are in place.
Working With Fabric Graphics and Configurations
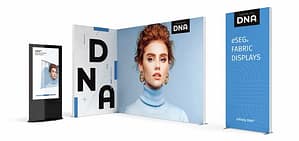
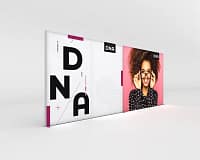
SEG fabric graphics have a silicone edge that pushes into a groove around the frame, giving premium illuminated displays a smooth, frameless appearance. Start inserting the silicone at one corner, then work evenly along each side to avoid stretching or puckering. For larger trade show lightbox booths, multiple frames can connect to create backlit trade show walls, U-shaped layouts, or towers that integrate with custom exhibition stands. Practising a full build in your office or warehouse helps identify any tricky joins before you arrive on site.
Planning, Safety, and Next Steps
When planning portable display solutions for Australian venues, allow generous space for assembly, power access, and safe cable management. Many event locations require all electrical leads to be tested and tagged, so confirm compliance before the show. LEDs in modular LED lightbox systems typically last for tens of thousands of hours, making them suitable for reusable modular exhibition stands and lightweight portable lightboxes over multiple events. To compare your options in more depth, consider how an Infinity DNA™ Pro Lightbox stacks up against pull-up banners, traditional stands, and other illuminated solutions.
If you are unsure which configuration best fits your stand size, staffing levels, or marketing objectives, speak with a display specialist before you purchase or hire. Ask for clear assembly diagrams, estimated build times, and guidance on caring for graphics between events. A short planning conversation can ensure your system is easy to transport, compliant with venue requirements, and ready for repeated campaigns. Take the time now to learn the process thoroughly so you can arrive at your next trade show confident, prepared, and focused on engaging visitors rather than troubleshooting your stand.