Assembling a WaveLight Casonara backlit tension fabric light box banner may seem daunting at first, but understanding the process will help you set up a professional illuminated display safely and efficiently. This guide explains each stage clearly so you can prepare for events, expos, and retail activations with confidence using illuminated display solutions that suit Australian venues and regulations.
Understanding Your WaveLight Casonara Light Box
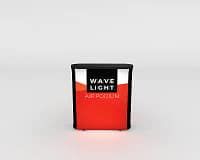
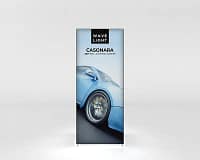
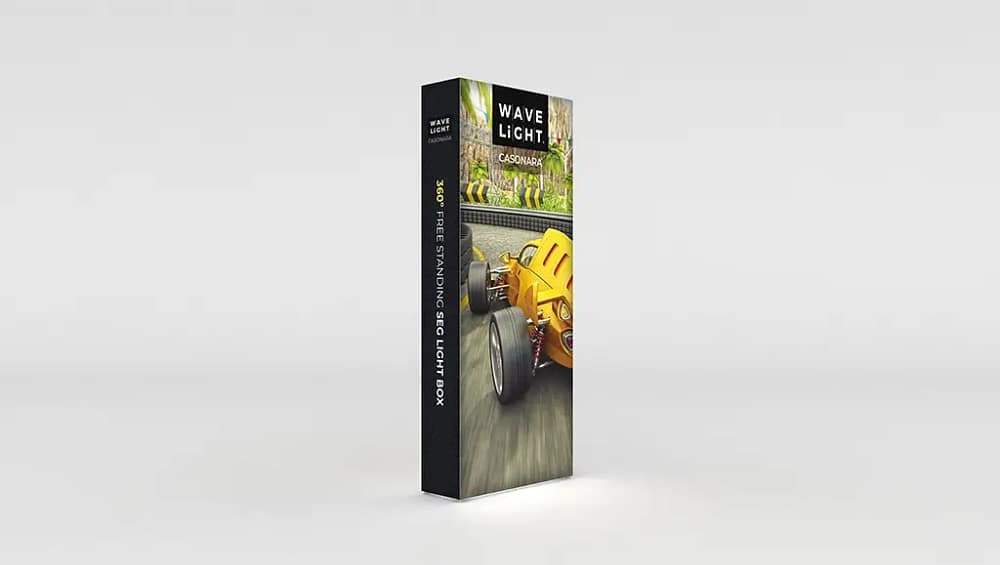
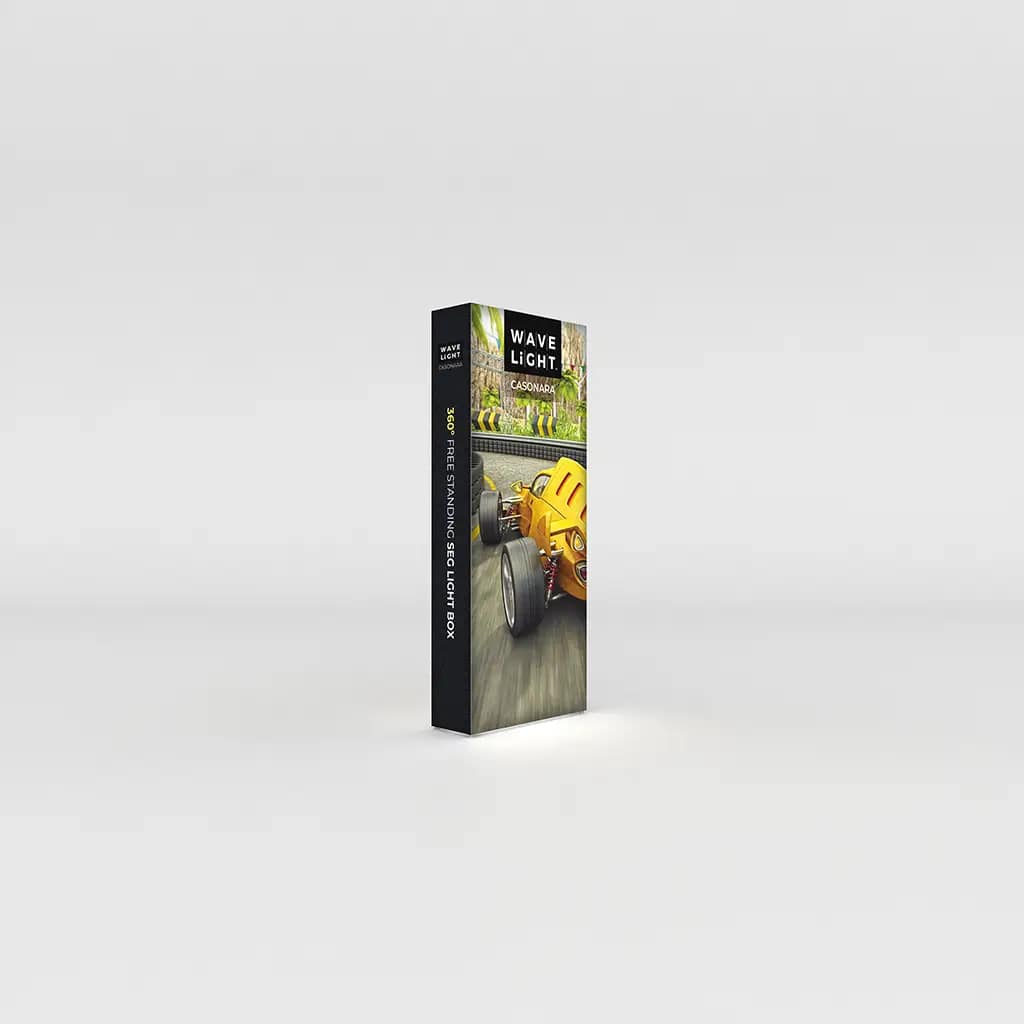
WaveLight Casonara systems are freestanding backlit exhibition displays that combine an aluminium frame, LED lighting, and a tension fabric graphic. The frame provides structure, while the LED strips or panels create an even glow behind the print. The silicon-edged fabric fits into a channel around the frame, giving a smooth, frameless appearance. Before you begin assembly, familiarise yourself with each part and compare it with the instruction sheet supplied by the manufacturer.
Preparing the Components and Workspace
Start by unpacking all components on a clean, flat surface to protect the fabric and frame from damage. Lay out frame sections in order, keeping screws, connectors, and power cables organised. Check that the LED drivers, power supply, and any adaptors suitable for Australian power outlets are included. This is also a good time to confirm that your custom fabric banner designs match the correct size and artwork orientation for the specific light box model.
Step-by-Step Frame and Lighting Assembly
Follow the numbering on the aluminium sections to build the frame, securing each corner with the supplied connectors. Tighten screws firmly but avoid over-torquing, which can damage fittings or affect alignment in modular display systems. Once the frame is standing, attach the LED strips or panels to the marked channels, ensuring cables are not twisted or pinched. Connect the lighting to the power supply, then briefly test the system to confirm all LEDs are operating evenly before adding the graphic.
Fitting the Fabric and Achieving Tension
Begin inserting the silicon edge of the fabric graphic into one corner of the frame, working methodically along each side. Alternate between sides to keep tension balanced and reduce wrinkles. If you notice ripples, gently remove a small section and reinsert it while pulling the fabric slightly tighter. This process is similar across seg light box displays, where the goal is a smooth, edge-to-edge illuminated surface that enhances high-impact booth graphics without visible sagging.
After the fabric is secured, connect the power and inspect the banner from several angles, checking for even lighting and consistent tension. Many Wavelight Casonara Banners are designed with reusable exhibition hardware, so disassembly and repacking follow the same steps in reverse. Consider how the light box will work with your broader trade show marketing tools, such as portable trade show signage and branded event backdrops, to create a cohesive visual presence. When you are ready to explore premium illuminated banners and backlit exhibition displays in more depth, speak with an expert to compare options, discuss care and transport, and plan a long-term strategy for modular display systems that support your events across Australia.