How to Assemble WaveLight® Air Wall Displays: A Step-by-Step Guide
WaveLight® Air Wall displays are designed to give Australian event teams portable illuminated backdrops that set up quickly and look professional under show conditions. Understanding the Wavelight Air Wall system helps you assemble it safely while protecting the integrated lighting and graphic. This guide explains the core components, preparation, build steps, and pack-down so your team can manage installations confidently at exhibitions, conferences, and retail activations.
Understanding the WaveLight® Air Wall System
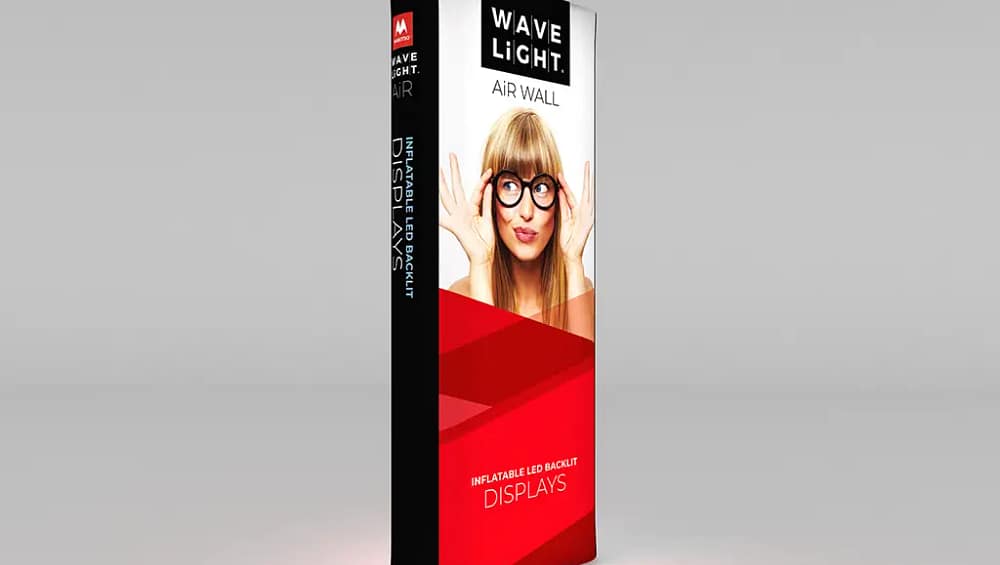
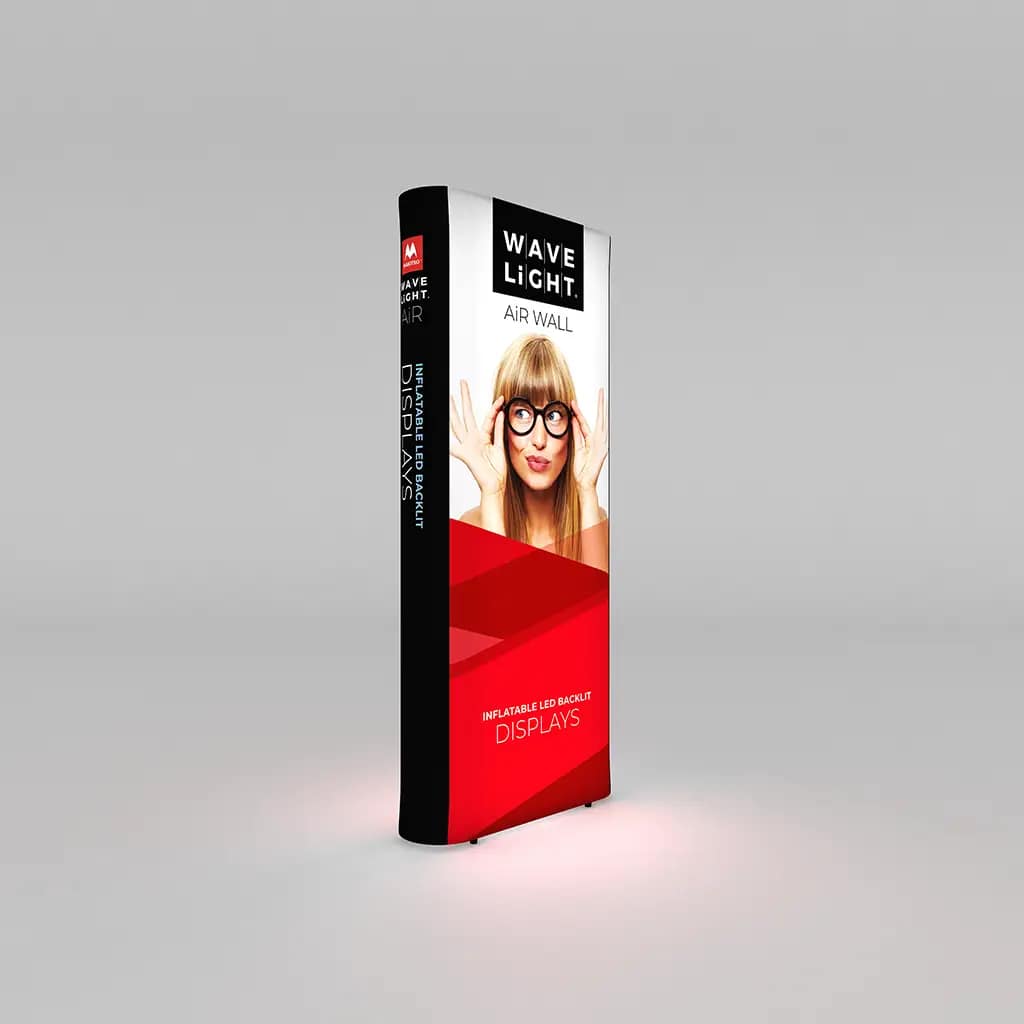
The system combines an inflatable internal frame, LED light array, and tensioned printed fabric to create branded inflatable displays with a smooth, backlit finish. Because the structure relies on air chambers rather than metal, it is lighter to move and quicker to install than many lightweight trade show walls. Event managers typically use these walls as feature backdrops, photo points, or high impact event signage in foyers and open stand spaces. When handled correctly, the frame and graphic can be reused across multiple dates and venues.
Preparing Your Site and Components
Before inflating the wall, clear a flat, clean floor area to minimise the risk of punctures and dirty marks on the graphic. Unpack the frame, power pack, LED light array, printed cover, pump, and any stabilising feet or weight bags, checking everything against the supplier’s list. In Australian venues, ensure all power leads are tagged and tested in line with site safety rules. This is also a good time to confirm your large format event graphics match the correct size and orientation for the frame being used.
Step-by-Step Assembly Process
Start by laying the deflated frame flat with the air valve accessible, then attach the pump and inflate slowly until the structure is firm but not rock hard. Stand the frame upright, fit any feet or weight bags, and check that it feels stable before adding the graphic. Slide or wrap the printed cover over the frame, align the seams, and close the zip while smoothing out creases to keep the surface tension even. Connect the internal LEDs to the power supply as labelled, then plug into a tested outlet and check for even illumination.
Once you are familiar with the procedure, most teams can assemble these modular exhibition light walls in under fifteen minutes. For touring roadshows or busy expo schedules, consider marking valves, zips, and cable runs with discreet labels to speed up repeat builds. Many organisers pair these walls with portable display solutions, counters, and accessories to create cohesive stand layouts. Because the walls pack down compactly, they are suitable for staff travelling between capital cities and regional events with limited freight capacity.
To maximise lifespan, avoid dragging the frame or fabric and keep sharp objects away from the inflatable chambers while setting up or packing down. Allow the LED system to cool briefly after switching off, then disconnect all cables before removing the printed cover. Fold the fabric loosely to protect the print, particularly when working with custom fabric banners or reusable branded graphics that will be used across multiple campaigns. Gently press air from the frame rather than forcing a tight roll, and store the full kit in a cool, dry space ready for your next activation.
If you are comparing event marketing tools or planning a new stand, it can be helpful to discuss options such as seg fabric backdrops, modular frames, and other portable illuminated backdrops with a specialist. They can advise on which Wavelight Air Wall sizes, accessories, and large format event graphics best suit your venue rules, bump-in windows, and long-term schedule. Speak with an exhibition display expert to clarify specifications, refine your layout, and ensure your next installation runs smoothly from first inflation to final pack-down.