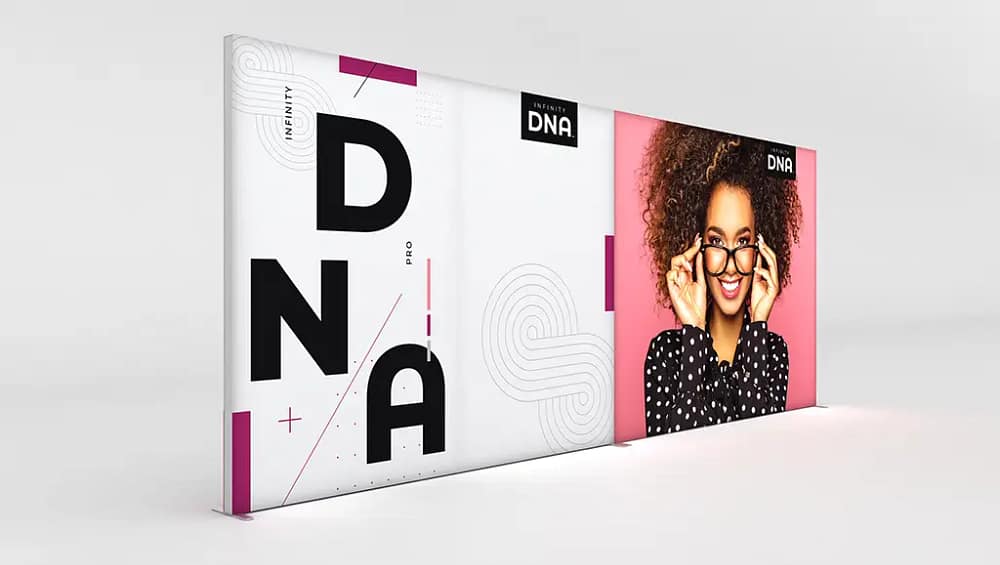
How to Assemble Infinity DNA™ Pro Banners: A Step-by-Step Guide
Infinity DNA™ Pro Banners provide Australian organisations with a reliable way to present clear, consistent branding at events and in retail spaces. Understanding how these stands are constructed and assembled will help you achieve a stable, professional result every time. This guide explains the key components, assembly process, and care tips so you can set up with confidence and avoid common mistakes that damage hardware or graphics.
Understanding Your Infinity DNA™ Pro Banner System
An Infinity DNA™ Pro Banner system normally includes a cassette base, a multi-section support pole, and a retractable printed panel. The base houses the spring mechanism that rolls the graphic in and out, making it one of the most high-quality display solutions for frequent events. The pole may be bungee-corded or clip-together, and the top rail attaches to the graphic to keep it taut. Together, these elements create durable promotional signage that can be transported easily between venues.
Preparing Your Space for Safe Assembly
Before you start, choose a flat, open area away from doors and heavy foot traffic. Remove the base, pole, and top rail from the carry bag and check for dents, loose screws, or frayed edges on the graphic. A quick inspection helps prevent unstable setups at busy events where professional branded backdrops must perform reliably. Ensuring the banner retracts smoothly is especially important for reusable exhibition graphics used across multiple campaigns.
Step-by-Step Assembly Process
Place the base on the floor with the graphic slot facing away from you, then fold out any stabilising feet if supplied. Assemble the pole by connecting each section firmly; some models use push-button locks, similar to lightweight aluminium displays. Insert the completed pole vertically into the socket on the base. Next, support the base with one hand and gently pull the graphic up using the top rail, walking backwards slowly to maintain even tension and avoid stressing the mechanism.
Achieving a Professional, Straight Finish
Once the banner is fully extended and attached to the top of the pole, step back and check for lean or sagging. If the display tilts, adjust the feet or slightly rotate the base until the graphic stands straight and centred. Avoid overextending the pole, as this can distort premium fabric display systems and reduce print life. For cohesive modular trade show signage, ensure your height and alignment match neighbouring stands for a clean, continuous visual line.
To disassemble, support the top rail and carefully unhook it from the pole, then walk towards the base as the banner retracts. Allow the mechanism to pull the graphic in slowly without letting it snap, protecting both the print and internal spring. Break the pole into its sections and return everything to the carry bag, storing the unit in a cool, dry location. When planning larger booths, you can pair Infinity DNA Pro Banners with portable trade show walls or tool-free modular frames for added impact.
These systems are designed for solo setup, though a second person can help in tight or crowded aisles. With proper care, many Australian businesses use them for years alongside custom fabric banners and interchangeable fabric panels. If you need guidance on choosing configurations or combining stands with other portable solutions, speak with a display specialist who can recommend the best options for your venue and usage. Use this knowledge to plan your next event with confidence and ensure every banner is assembled safely and professionally.