Updated: 2025-09-04
Step-by-Step Assembly Guide for the WaveLight® Air Wall Lightbox Display
Introduction
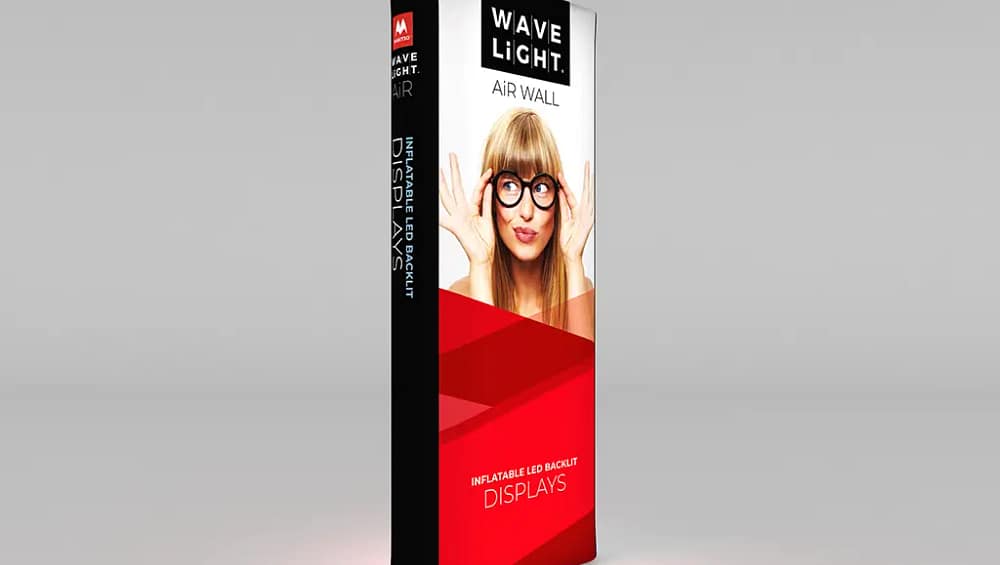
The WaveLight® Air Wall Lightbox is designed for teams who need fast, consistent, and professional illumination for events. This guide focuses on the product itself, so you can understand its advantages, learn the tool-free assembly, and deploy it with confidence on show day. Therefore, read on to discover practical setup steps, key features, and real-world uses that make this lightbox a reliable choice for exhibitors.
General Information
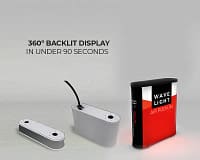
The WaveLight® Air Wall Lightbox features a lightweight aluminum frame and tension-fit silicone edge graphics. As a result, staff can build and dismantle without tools, reducing setup time and staffing costs. The pre-installed LED system is plug-and-play, so teams can verify lighting in seconds and avoid last-minute surprises.
Product Highlights
This lightbox combines visibility and simplicity. Furthermore, its modular design allows single operators or small crews to work efficiently, while the seamless print option maintains image clarity even from a distance. Consequently, brands look sharper and attract more attention on the show floor.
Components
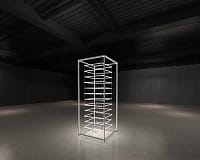
- Lightweight aluminum frame with quick-lock joints
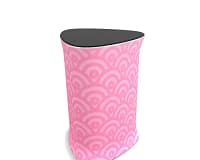
- Silicone edge graphics (SEG) with corner-to-center insertion
- Pre-installed LED strips and plug-and-play harness
- Slim power supply and labeled connectors for consistent installs
Specifications
The WaveLight® Air Wall Lightbox is engineered for trade shows and retail displays. It is available in multiple panel sizes and finishes, and the SEG fabric prints with high color fidelity. In addition, the assembly tolerances and click-lock hardware ensure repeatable flatness for every install.
For product options, specs, and compatible accessories, explore our WaveLight® Air Wall Lightbox collection.
Setup Process: Step-by-Step
Follow this streamlined process to assemble the WaveLight® Air Wall Lightbox quickly and reliably. First, unload and organize components by panel so you can work methodically. Next, assemble and lock the frame, then seat the graphics and verify lighting.
- Lay out frame sections in assembly order on a clean surface.
- Connect the aluminum frame pieces until each joint clicks into place. The audible click confirms secure locking.
- Insert the silicone edge graphic from the corners and work toward the midpoints to achieve a smooth tensioned finish.
- Plug in the pre-installed LEDs using the labeled harness. The plug-and-play design lights the panel in seconds.
- Perform a quick walk-around inspection and power test before moving the unit to its final position.
Use Cases
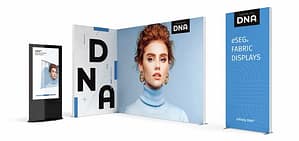
Use the WaveLight® Air Wall Lightbox for trade show backdrops, retail feature walls, press events, and branded activation spaces. Moreover, it excels at creating crisp hero imagery behind demo stations and at reception areas where first impressions matter. Teams can also combine multiple panels to craft immersive brand environments.
Conclusion
In summary, the WaveLight® Air Wall Lightbox delivers a tool-free workflow, consistent visual results, and fast setup times. Consequently, teams save time and reduce risk while presenting a professional brand presence. Finally, with predictable assembly and bright, even illumination, you can focus on engaging visitors and converting leads rather than troubleshooting hardware.