Updated: 2025-09-04
Why Tool-Free Assembly Matters
Tool-free systems reduce mistakes, speed up builds, and make results predictable. Your team spends less time fixing frames and more time engaging visitors.
The design welcomes first-time staff and mixed crews. Clear clicks and labeled parts remove guesswork and keep quality consistent from show to show.
Step-by-Step Assembly
- Connect the lightweight aluminum frame until each joint locks with an audible click.
- Insert the silicone edge graphics (SEG) from corners to mid‑points for a smooth, tight finish.
- Plug in the pre‑installed LEDs. The plug‑and‑play harness lights up in seconds.
Tips for a Faster Build
Lay out parts in assembly order and keep the power supply accessible. A quick test before graphics go on helps spot loose connections early.
Use a soft glove when seating SEG to protect print edges and speed up the final pass.
Final Thoughts
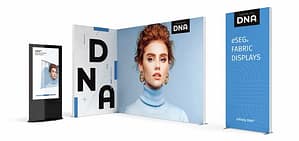
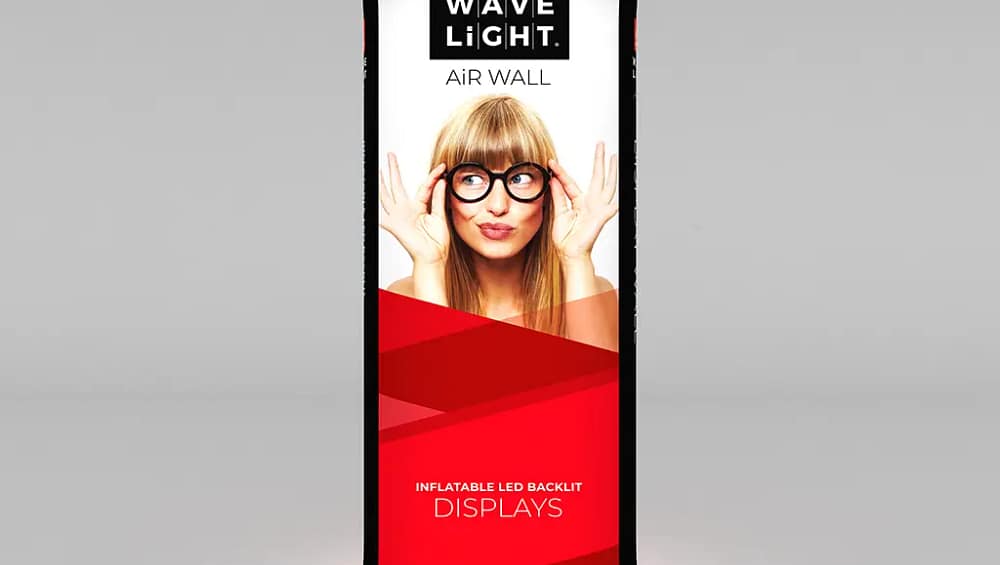
The WaveLight® Air Wall Lightbox helps exhibitors move faster and look sharper at every event. For product options, specs, and compatible accessories, explore our WaveLight® Air Wall Lightbox collection.
For teams managing tight schedules, a consistent, tool‑free workflow reduces risk and keeps attention on customers, demos, and qualified leads.