Step-by-Step Assembly Guide for WaveLight® Casonara Lightbox Displays
Updated: 2025-09-03
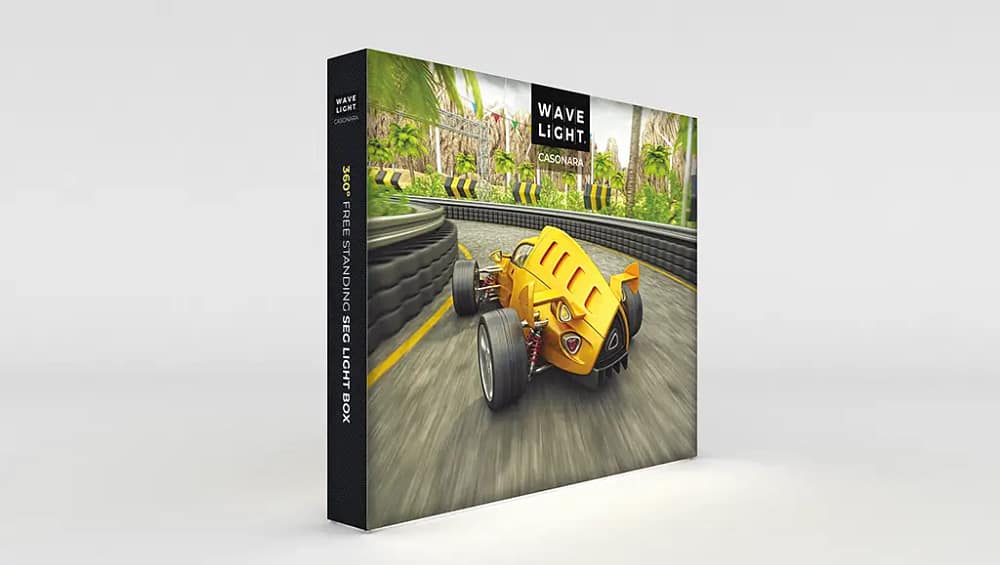
The WaveLight® Casonara Lightbox delivers vivid, even backlighting in a compact, durable package. Designed for event teams, retailers, and brand managers, this lightbox balances fast installation with premium visual output. Below you will find product-focused guidance that highlights features, explains components, and walks you through a repeatable setup that protects brand integrity and reduces onsite surprises.
General Information
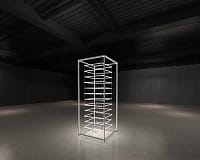
The WaveLight® Casonara Lightbox is engineered for repeatable performance, and therefore it suits busy schedules and limited staffing. In addition, it provides a consistent illuminated surface for photographic imagery and brand messaging. You can expect a photo-flat SEG fabric, integrated LED arrays, and a modular aluminium frame that fits into road cases for safe transport.
Key Specifications
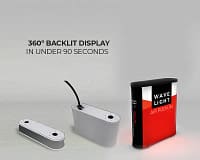
Key specs include anodised aluminium frame sections, plug-and-play LED arrays, silicone-edge graphics (SEG), and a compact power supply with jumper leads. Moreover, the frame uses push-button connectors for quick assembly, and the LEDs produce even brightness across the graphic with minimal hotspots. These specifications ensure the display looks professional in exhibition halls, retail windows, and pop-up activations.
Components Included
Your kit contains labelled frame sections, integrated LED strips, a power supply, jumper leads, cable clips, and the SEG graphic. First, audit components against the packing list. Then, arrange parts by type so you can speed through the build. A consistent inventory routine prevents missing items from delaying setup.
Design Features and Material Quality
The frame is anodised to resist scuffs, and the connectors are engineered for audible engagement so you know each section is locked. Furthermore, the SEG fabric features a clean bonded edge that seats into the channel for a seamless finish. Because materials are designed for repeated assembly, the lightbox maintains a premium appearance across many events, and therefore it lowers lifetime ownership cost.
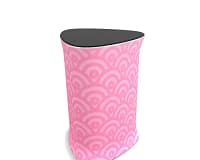
Portability and Transport
Packed in a dedicated case, the Casonara system transports easily and arranges quickly onsite. In addition, the modular sections distribute weight for safe handling, and working in pairs reduces strain while protecting the finish. For even more consistency, keep a laminated checklist and a reference photo in the case so your team can replicate the approved setup each time.
Step-by-Step Setup Process
Start on a clean surface and group components by type. First, connect the base pieces, then insert uprights, and finally click the header into place. Next, perform a gentle tug test to verify stability. Then seat the SEG fabric by starting at all four corners, and work short sections around the frame to prevent ripples and light leaks. If a crease appears, lift and reseat a small area rather than stretching the entire side.
After the fabric is seated, connect the plug-and-play power system and test illumination. Use cable clips to route wires discreetly for a premium look. Finally, perform a quick quality check: confirm corners are seated, the graphic is flush, the brightness is uniform, and the frame sits square relative to the floor. These checks ensure brand visuals are consistent, and they reduce the need for onsite adjustments.
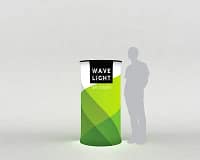
Use Cases and Applications
The WaveLight® Casonara Lightbox excels at exhibition stands, retail displays, and temporary activations where visual impact matters. For example, use it as a booth backdrop to attract visitors, or place it in a store window to create 24/7 brand visibility. Additionally, the system integrates well with other modular displays for layered presentations.
Learn more about the WaveLight® Casonara Lightbox here.
Conclusion: Benefits and Reliability
In summary, the WaveLight® Casonara Lightbox combines fast, tool-free assembly with durable materials and consistent lighting. Therefore it delivers premium visuals with predictable setup times and low maintenance. By standardising your routine and using the included checklist, you ensure consistent results and protect the longevity of both the hardware and graphics.