Updated: 2025-09-03
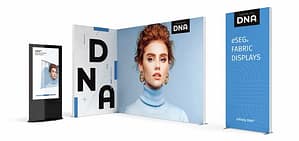
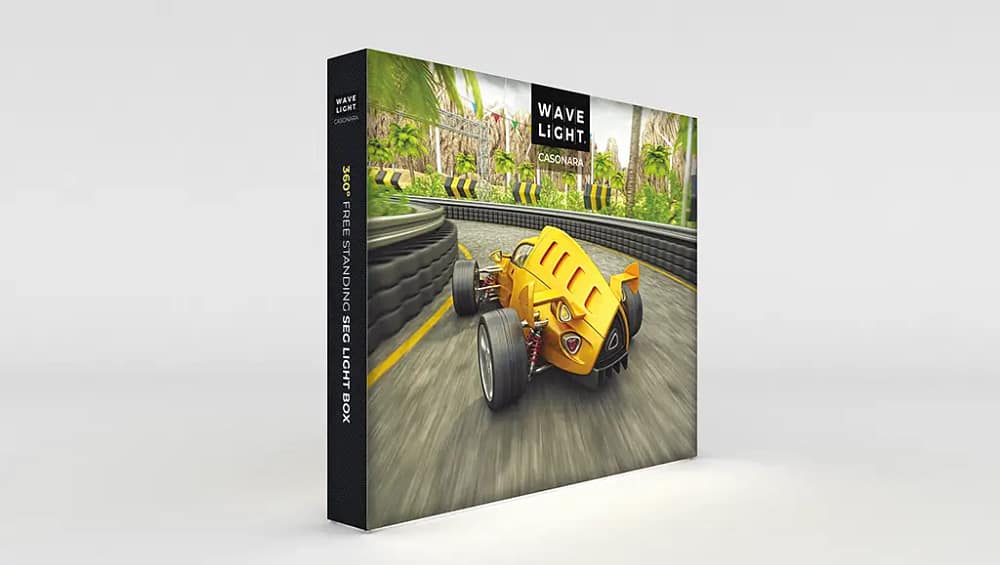
The WaveLight® Casonara Lightbox is engineered to deliver vivid, even backlighting with a fast, repeatable workflow. This article covers step-by-step assembly guide for wavelight® casonara lightbox displays with practical guidance for teams balancing tight schedules, staffing limits, and brand standards.
Unboxing and Preparation
Open the case on a clean surface and group components by type: labelled aluminium frame sections, integrated LED arrays, power supply, jumper leads, and silicone-edge graphics (SEG).
Audit components against the packing list. A quick five-minute check prevents on-floor surprises and keeps the build flowing smoothly.
Tool-Free Frame Construction
Connect base pieces first, then uprights, finishing with the header. Push-button connectors click audibly so you can confirm each lock.
A gentle tug test verifies stability. Working in pairs speeds alignment and protects the anodised finish from scuffs.
Seating the SEG Fabric Cleanly
Start at all four corners to set tension, then tuck the remaining edges in short sections. This prevents ripples and light leaks.
If a crease appears, lift and reseat a small area rather than stretching across a full side. Even tension produces a photo-flat surface.
Power, Lighting, and Quality Check
Connect the plug-and-play power system and test illumination. Use cable clips to keep wires hidden for a premium look.
Do a quick QA: corners seated, fabric flush, uniform brightness, and square alignment relative to the floor and backdrop.
Conclusion: With smart planning and a consistent method, the WaveLight® Casonara Lightbox delivers premium visuals, reliable operation, and smooth logistics across exhibitions, retail activations, and pop-ups.
Learn more about the WaveLight® Casonara Lightbox here.
Additional Tips for Consistent Results
Standardise your build routine across events so every team member follows the same sequence. Keep a laminated checklist in the case that outlines the unpacking order, frame connections, SEG seating pattern, and cable routing. A consistent process reduces errors and protects the longevity of your hardware and graphics.
Capture a quick photo of the finished display during your first setup and store it in the kit. This reference image helps new staff match the approved standard on future builds and keeps colour, alignment, and lighting consistency tight across venues. Small habits like these make a measurable difference to brand quality.
After each event, inspect connectors, wipe the frames with a microfiber cloth, and roll graphics print-to-print to prevent surface scuffs. Proactive care ensures the lightbox continues to present at its best while keeping lifetime ownership costs under control.