Step-by-Step Assembly Guide for Infinity DNA™ Pro Lightbox Displays
Updated: 2025-09-02
The Infinity DNA™ Pro Lightbox is built for speed, consistency, and high-impact presentation. For exhibitors who face tight move-in windows and multiple booths to stage, this lightbox delivers repeatable results. Below is a product-centered, step-by-step guide you can hand to your show team so the display goes together the same way every time. Consequently, you will reduce setup errors, shorten install time, and maintain a consistent brand appearance across events.
General Information
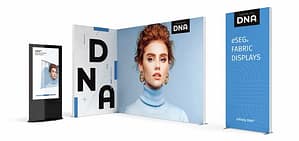
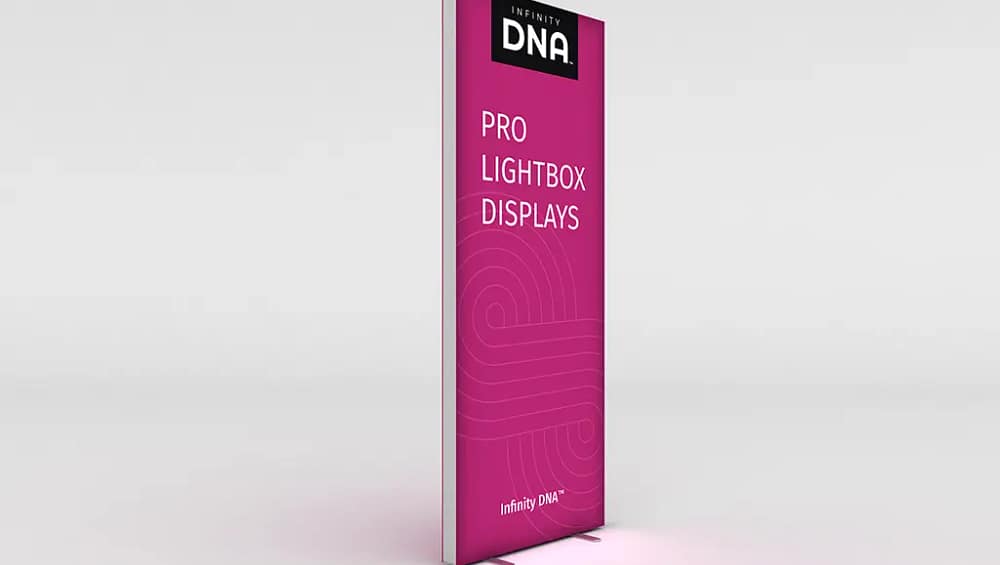
The Infinity DNA™ Pro Lightbox is a tool-free fabric lightbox system designed for trade shows, retail pop-ups, and experiential spaces. Because it ships with labelled frame sections and a pre-fitted LED array, you can standardise setup across crews and venues. For quick reference and product details visit Infinity DNA™ Pro Lightbox.
Components
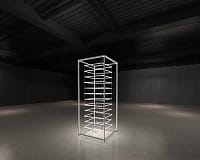
Each kit contains precision aluminium frame sections, push-fit nodes, pre-fitted LED arrays, a power supply, jumper leads, and a custom silicone-edge graphic (SEG). First, lay components out on a clean surface and then confirm quantities against the packing slip. Next, group parts by left/right/top identifiers so team members can work in parallel. Finally, the short audit prevents missed pieces on a busy show floor and saves time later.
Design Features
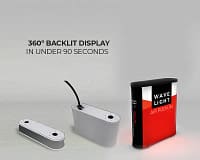
The frame uses engineered push-fit nodes that produce a positive audible click when seated correctly. Additionally, the SEG graphic uses a silicone bead to create edge tension for a seamless face. Because the lighting is integrated, you get even illumination and true-to-art color without additional diffusers. Moreover, the aluminium construction keeps the unit lightweight while remaining rigid when assembled.
Specifications
The Infinity DNA™ Pro Lightbox is available in multiple sizes to fit common booth footprints. Typical features include lightweight anodised aluminium rails, low-voltage LED strips pre-installed, external power supply with standard plugs, and custom silicone-edge dye-sublimated fabric. As a result, you benefit from vivid graphics, low power consumption, and simple maintenance on the show floor.
Setup Process
Begin by unboxing and performing the five-minute audit. Then assemble the base rails on the ground, add the verticals, and cap with the header to square the frame. Next, install the SEG fabric by seating corner beads first, then work along the short sides and finish with the longest run. If a ripple appears, back out a hand-span and re-seat the bead rather than pulling diagonally. Finally, connect the jumper leads to the pre-fitted LED arrays, plug in the power supply, and run a quick lighting check before standing the unit up.
Use Cases
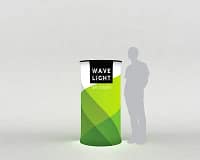
Use the Infinity DNA™ Pro Lightbox as a primary backwall for small booths, as a product highlight wall in retail, or as a photo backdrop in activations. Additionally, multiple units can be combined to create curved or linear runs for larger exhibits. Because the setup is tool-free and fast, crews can rehearse assembly and takedown to keep labor predictable and costs low.
Conclusion
With a brief rehearsal, most teams can assemble a single Infinity DNA™ Pro Lightbox in under ten minutes. Consequently, you gain consistent visual impact, lower staffing requirements, and fewer on-site fixes. In short, this lightbox is a practical, high-quality solution for exhibitors who demand speed and repeatability without compromising on presentation.