From Unboxing to Exhibit: Assembling Infinity DNA™ Pro Lightbox in Minutes
Updated: 2025-09-02
Introduction
The Infinity DNA™ Pro Lightbox is built for speed, consistency, and professional impact. Whether you manage a single booth or coordinate multiple shows, this product helps you reduce setup time and eliminate common onsite errors. Below you will find a product-focused, step by step guide that highlights the lightbox benefits, explains key components, and outlines a repeatable assembly workflow a team can learn in minutes.
General Information
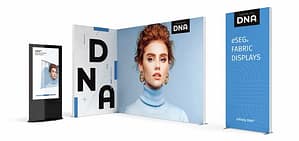
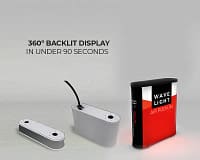
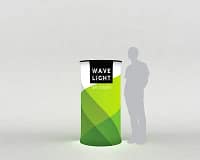
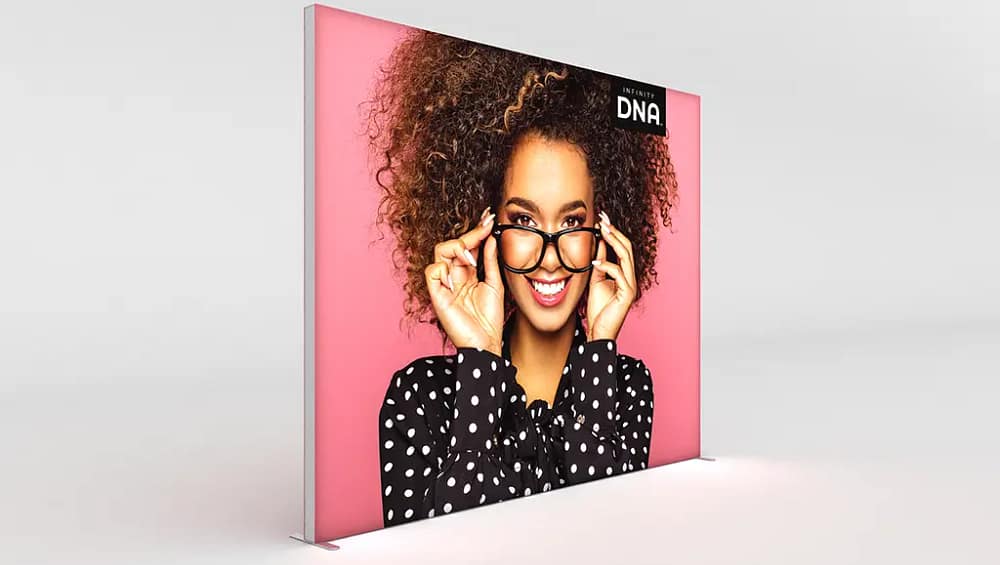
The Infinity DNA Pro Lightbox delivers vibrant, edge-lit graphics with an easy, tool-free assembly process. Additionally, it ships with labelled frame sections and pre-fitted LED arrays, so you can standardise setup across shows. For quick reference and to view full product options, see Infinity DNA™ Pro Lightbox.
Components and Specifications
Each kit includes precision aluminium frame sections, push-fit nodes, pre-fitted LED strips, power supply, jumper leads, and a custom silicone-edge graphic (SEG). Furthermore, frames are anodised for durability and LEDs provide consistent, even illumination. Typical specifications include lightweight aluminium construction, low-voltage LED modules, and a custom-printed SEG that tucks neatly into the frame for a seamless face.
Product Highlights
First, the tool-free frame reduces the need for specialised staff. Second, the pre-fitted LED arrays remove guesswork on wiring and brightness. Third, the SEG system offers edge-to-edge print coverage for high-impact branding. Therefore, you get a display that is fast to deploy, visually consistent, and reliable across multiple events.
Tool-Free Frame Construction
Start by assembling the base rails, then add the verticals, and finally cap with the header. Because the nodes click into place, you will hear a positive audible click when sections are fully seated. For faster team performance, assign two roles: one person aligns and one applies pressure. As a result, joints stay square and the lightbox remains true, which reduces rework on the show floor.
Perfecting SEG Fabric Installation
Begin by inserting the silicone edge at the corners to anchor tension, and then work along the short sides, finishing with the longest run. If a ripple appears, back out a hand span and re-seat the bead rather than pulling diagonally, since that prevents distortion. In addition, store graphics rolled, not folded, to avoid crease memory and to ensure a smooth face at install.
Portability and Packaging
Each kit arrives in organised protective packaging with labelled ends so you can perform a five-minute audit on arrival. Consequently, teams can confirm quantities against the packing slip and avoid missed pieces. Moreover, the light aluminium frame keeps shipping weight low and allows most crews to carry and stage units with minimal staff.
Setup Process and Timing
With a brief rehearsal, most crews can assemble a single unit in under ten minutes. First verify all parts, then construct the frame, and finally install the SEG and connect power. Because the LEDs are pre-fitted and wiring is modular, cable runs are simple and safe. Also, the predictable workflow reduces staffing costs and increases focus on visitor engagement and demo readiness.
Conclusion
In summary, the Infinity DNA Pro Lightbox combines fast, repeatable assembly with premium visual performance. Therefore, you get consistent brand presentation, lower onsite labour, and quicker booth readiness. Finally, by following the standardised steps above, your team will deliver uniform results across events while maintaining a professional, illuminated face that draws attention and converts visitors into leads.