Updated: September 11, 2025
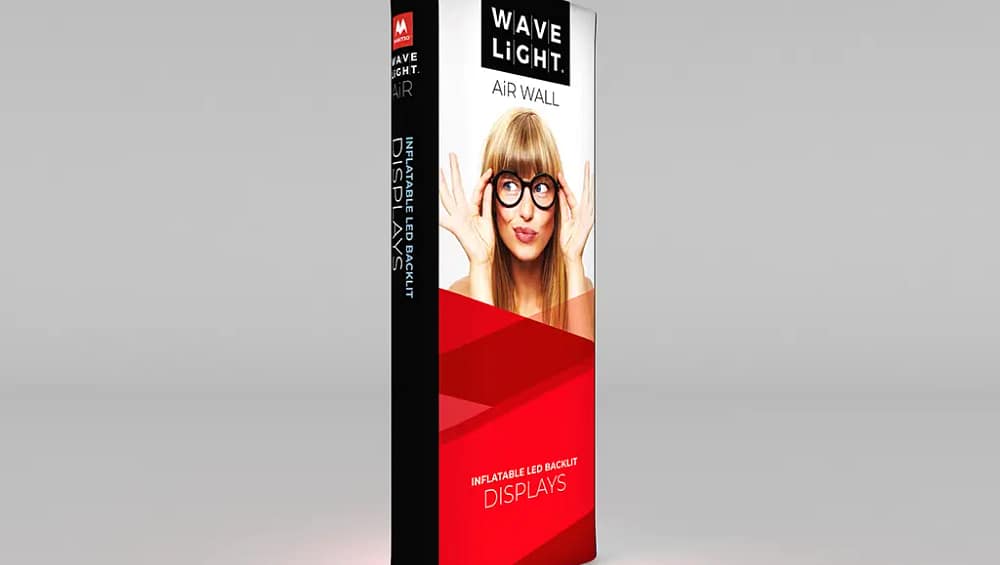
WaveLight® Air Wall blends ultra-bright, even illumination with an inflatable core that sets up quickly and travels light.
This article looks at from case to booth: tool-free setup of the wavelight® air wall so your team can plan confidently and focus on winning conversations instead of fighting with booth hardware.
Tool-Free Build with Clear Steps
Start by placing the base where your backdrop will live. Connect the integrated LED harness to power and run a quick test to ensure even illumination.
Slip the fabric cover over the body, align the seams at the edges, and then use the included pump to inflate the wall to the recommended PSI.
As the chamber firms up, the cover tightens across the surface to create a smooth, wrinkle-resistant face that photographs beautifully.
From Case to Ready in Minutes
- Unzip the wheeled case, remove the body, power supply, and fabric cover.
- Position the base and check clearance behind the stand for cables.
- Connect the LED strip and controller, then verify brightness levels.
- Inflate steadily; watch for even tension from top to bottom.
- Attach end caps or side covers and tidy cables with the supplied clips.
Pro Tips for a Flawless Finish
Seat the fabric from the top corners first to avoid diagonal ripples. Keep a microfiber cloth handy for a final wipe-down, and label the inside top edge of your graphic for fast orientation.
If you film content, dim ambient lights slightly and let the built‑in LEDs carry the scene; it reduces glare and improves contrast for photos and video.
Best Practices and Next Steps
Explore sizes, graphic options, and accessories for your next activation here: WaveLight® Air Wall.
Quick Checklist
- Confirm power access and pack a spare extension lead.
- Bring microfiber cloths for a pre-open wipe-down.
- Label the inside top edge of graphics for fast orientation.
- Carry spare LED connectors and gaffer tape for cable management.


