Updated: 2025-09-03
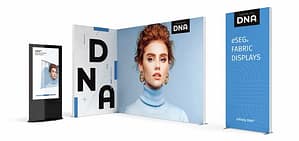
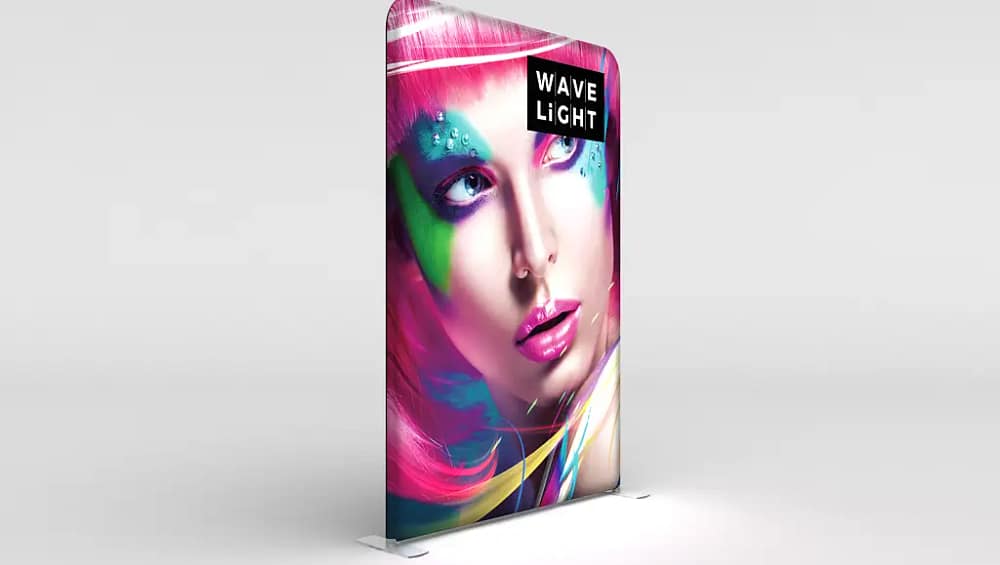
The WaveLight® LED Lightbox is engineered for modern exhibitors who need bright, professional branding without the complexity of traditional lightbox systems. This guide explores step-by-step assembly guide for wavelight® led lightbox displays while keeping setup, staffing, and budget in mind for real-world events.
Unpack and Audit Components
Open the compact case and group labelled aluminium frame sections, pre-fitted LED strips, power supply, jumper leads, and the silicone-edge graphic (SEG).
A 3–5 minute audit reduces on-floor rework. Confirm counts against the packing slip and keep the fabric sealed until the frame is built.
Build the Frame, Tool-Free
Numbered connectors and push-button locks snap into place—no screws or hex keys required.
Start at the base, then the sides, finishing with the header. Check that each lock clicks; a quick tug test verifies stability.
Seat the SEG Graphic Cleanly
Insert the silicone edge at all four corners first to set tension. Tuck the remaining edges evenly to prevent ripples or light leaks.
If you spot a crease, lift and reseat a short section rather than stretching across the entire side.
Lighting, Testing, and QA
Plug the power supply into the built-in LED bus. Use cable clips to keep cords tidy and hidden.
Do a 30-second QA: corners seated, fabric flush, light uniformity. Photograph the final setup for team training.
Conclusion: The WaveLight® LED Lightbox delivers consistent impact with practical details that matter on a busy show floor—clarity, brightness, speed, and repeatability. With thoughtful preparation and the right configuration, your team can produce a polished booth experience at every event.
Learn more about the WaveLight® LED Lightbox here.